
vue+websokect实现实时聊天,可单聊、可群聊
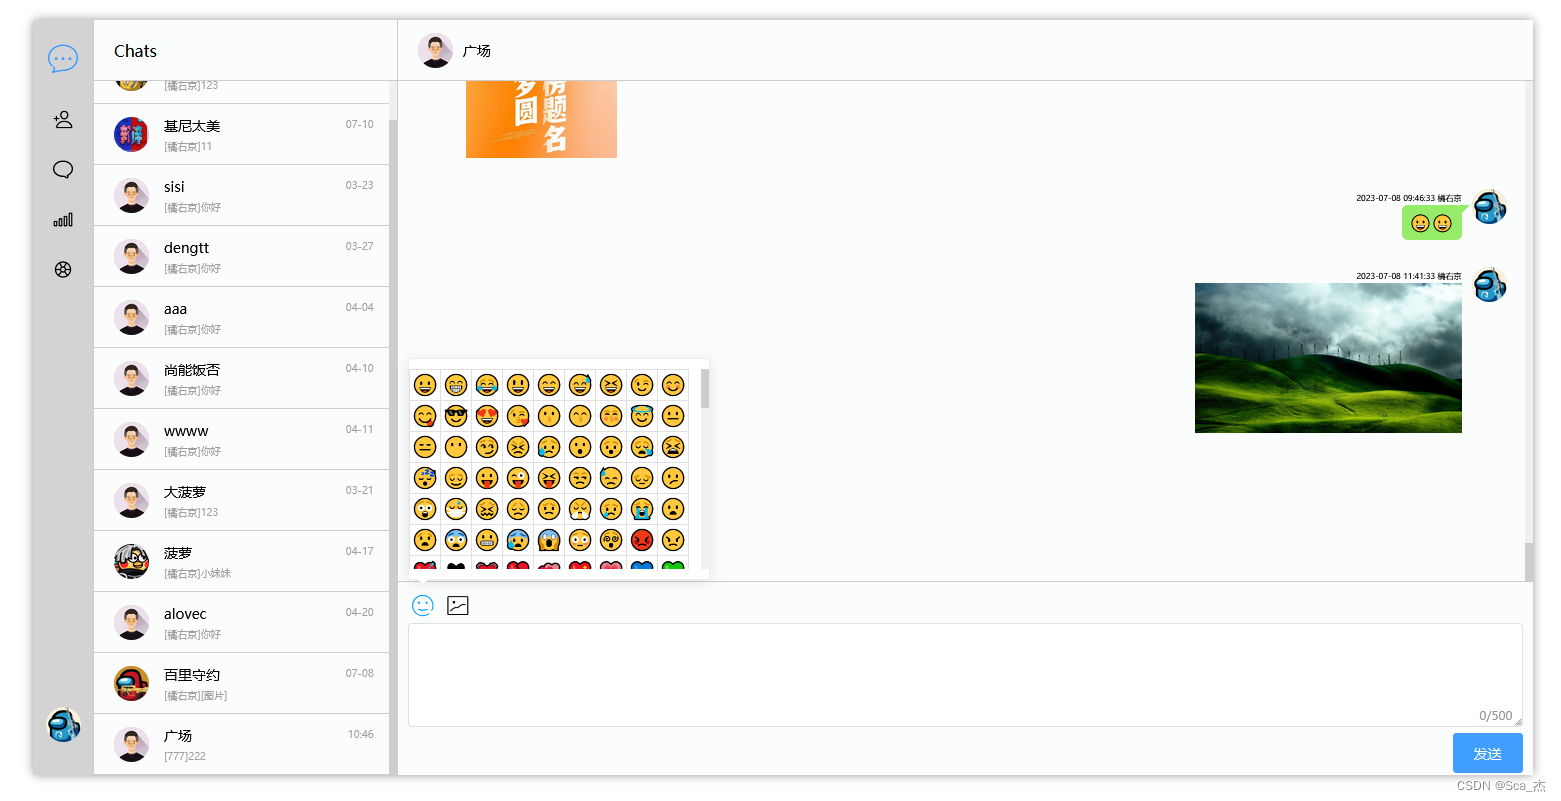
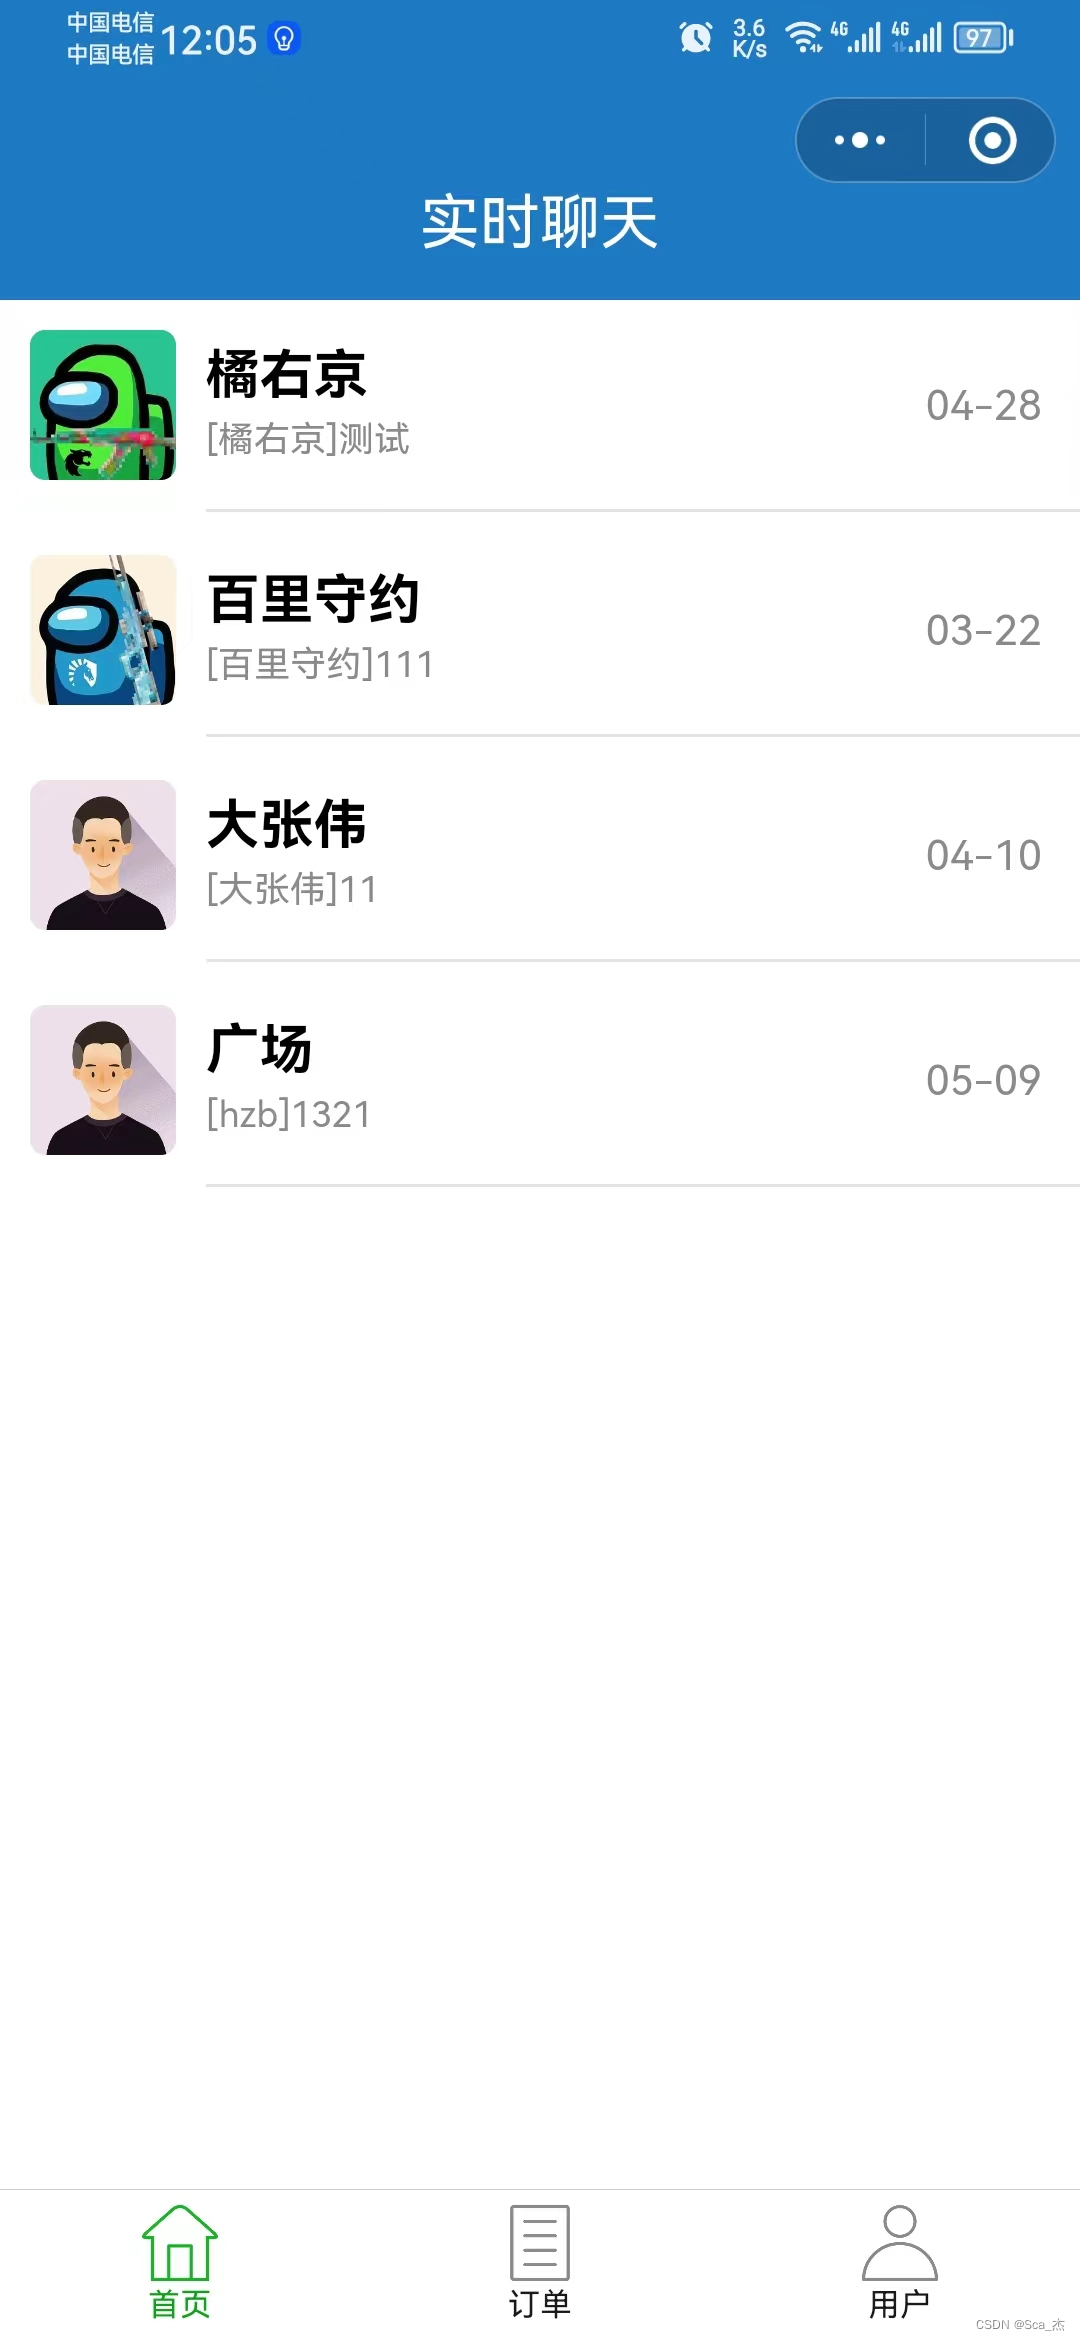
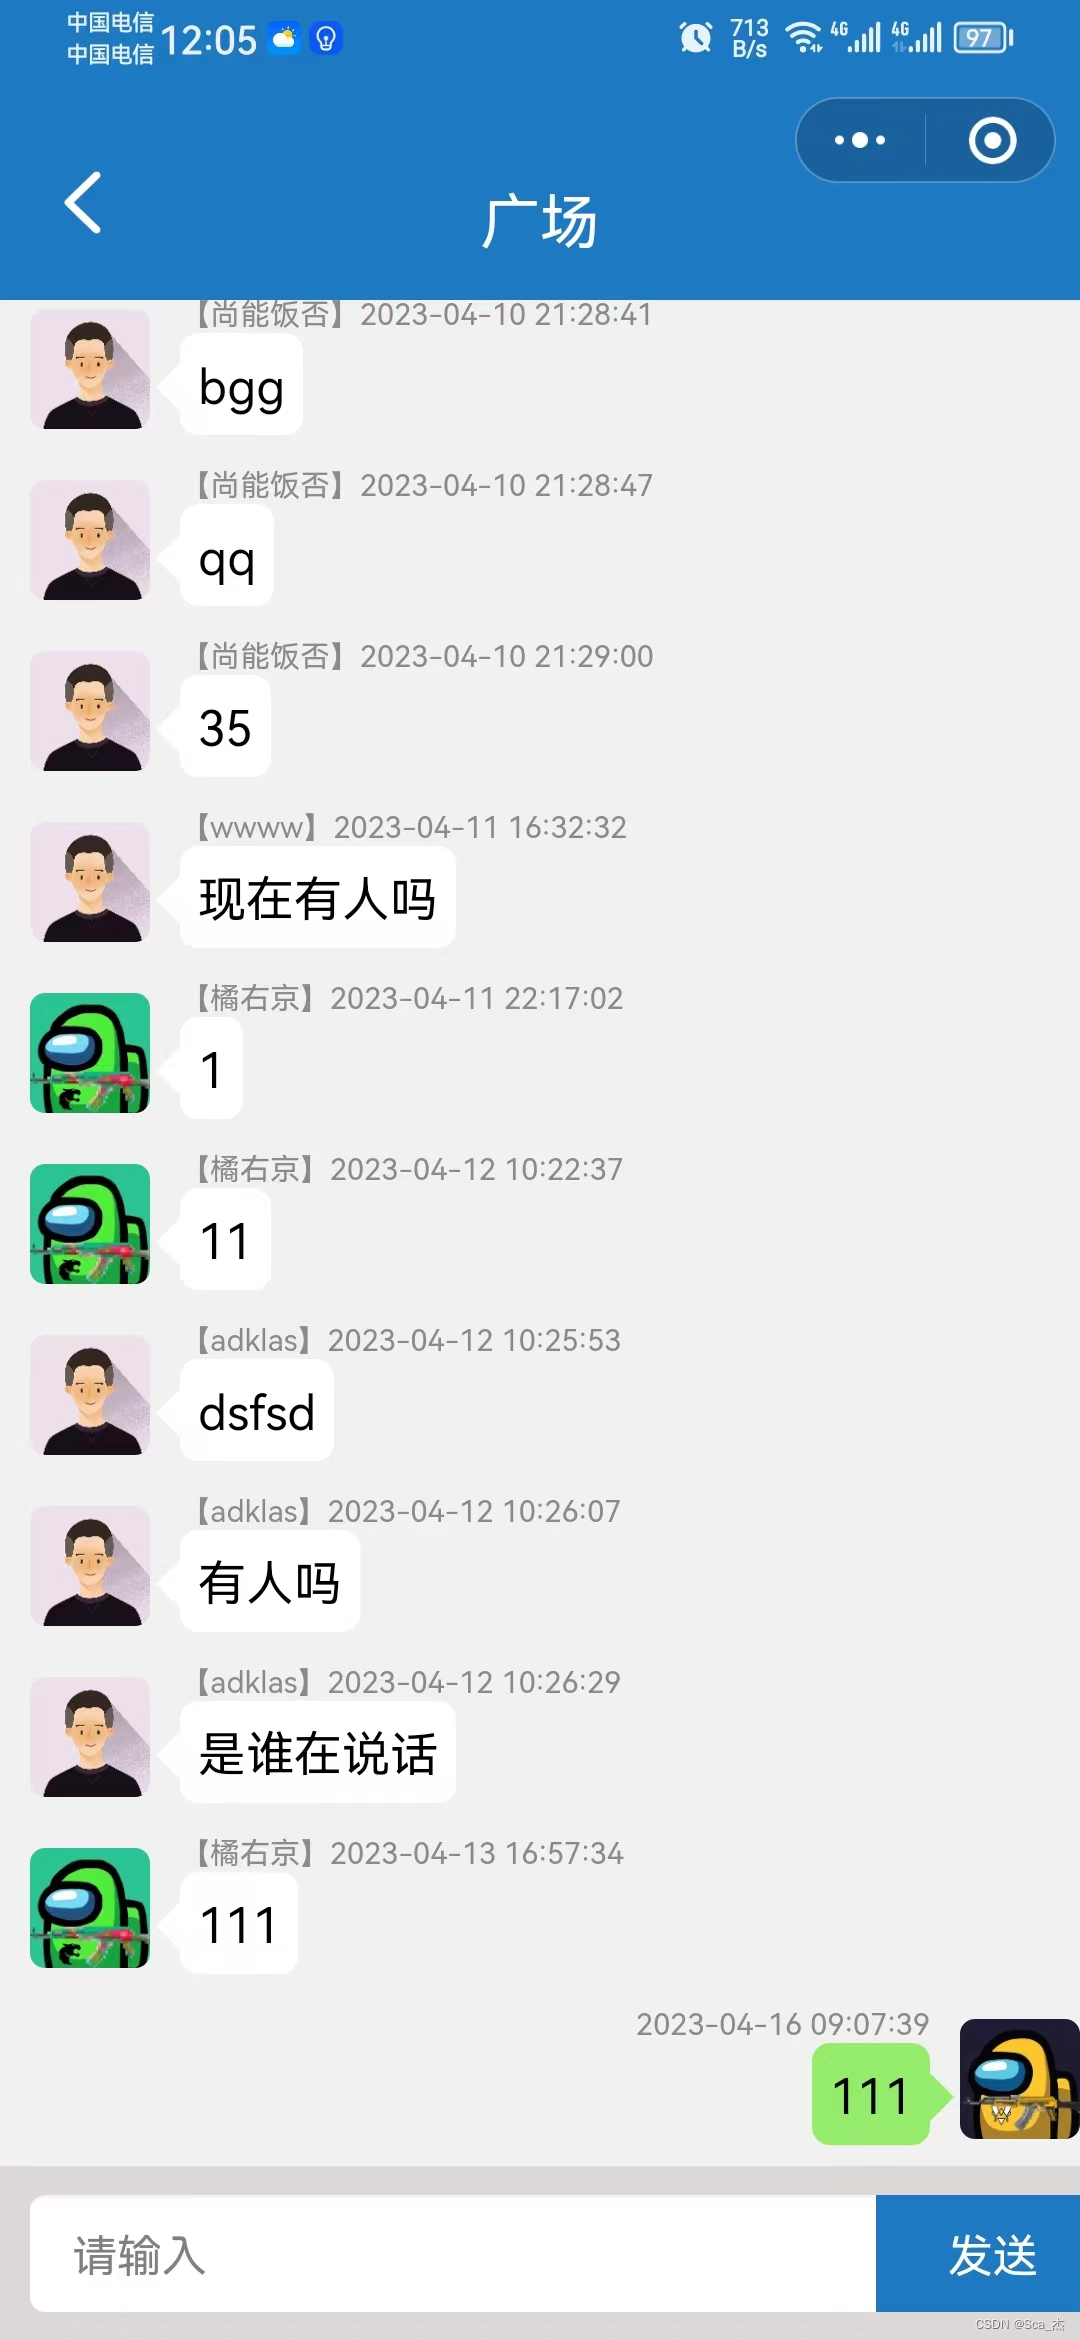
效果图
效果网站链接,安全性不符合实际上线使用,仅供学习交流
https://livequeen.top
效果小程序二维码 (需现在web端获取账号)
思路
一个实时聊天功能
第一,肯定要能够实现单聊或者群聊,所以不能无差别广播,要实现向指定用户发送广播。
第二,区分在线和离线,所以必须实现聊天信息要能保存到MYSQL数据库,即便离线,也能再次上线时收到消息。
第一步
一个实时聊天的功能,其核心就是websokect,进行双向平等对话,从后端主动推送消息到前端,实现实时推送消息的功能。关于websokect相关介绍,就不过多介绍,都能百度到,我这里推荐两个:
阮一峰老师的一篇文章
MDN文档
第二步
写后端核心代码,这里用的是Node.js的express框架。
ps:如果需要用java做后端的,可以看看我的这个帖子,链接如下:Springboot实现websocket(连接前jwt验证token)_springboot整合websocket好友聊天如何实现 token的方式-CSDN博客
注释解析:conn是用户的连接信息,在用户连接上ws端口时,将用户id信息发送过来,并以其id为key存储conn连接信息,用于指定用户发送广播,实现单聊或指定群聊,而broadcast()就是我们写的指定用户实现单聊的广播的方法。
let conns2 = {}// 实时聊天用户连接属性集
// websocket实时聊天
const wss2 = new WebSocket.Server({ port: 8082 })
wss2.on('connection', function connection (ws, req) {
  // 获取传递来的参数,req.url为端口号后的地址,需要处理只留下参数
  let index = req.url.indexOf('=')
  let id = req.url.substr(index + 1, req.url.length)
  console.log('成功连接实时聊天,用户:' + id)
  // 储存用户连接属性,用于识别发送对象
  conns2[id] = ws
  // 收到前端传来的消息
  ws.on('message', function incoming (message) {
    const obj = JSON.parse(message)
    // 广播给前端
    broadcast(obj)
  })
  // 关闭
  ws.on('close', function (e) {
    console.log(e, '服务端连接关闭')
  })
  // 错误
  ws.on('error', function (e) {
    console.log(e, '服务端异常')
  })
})
forEach遍历循环,利用typeof判断conns已连接用户集合(在线集合)中是否有该用户,来判断是否在线,然后使用sendText()发送消息。
// 实时聊天发送消息处理
function broadcast (obj) {
  // 储存需要广播的对象id
  let users = []
  // 判断是否为群聊,1为否,2为是
  if (obj.type === '1') {
    users.push(obj.send_id)
    users.push(obj.accept_id)
  } else if (obj.type === '2') {
    users = obj.accept_group
  }
  // 判断是否存在发送对象
  if (users && users.length) {
    users.forEach(item => {
      // 判断是否’正在连接中‘是否有该用户
      if (typeof conns2[item] === 'undefined') {
        console.log(item + '---该用户已离线')
      } else {
        // 发送消息给前端
        conns2[item].send(JSON.stringify(obj))
      }
    })
  }
}
第三步
写前端样式,这里用的是vue框架
        {{userName}}


            {{item.name}}
            [{{messlst[item.id][messlst[item.id].length-1].send_name}}]{{messlst[item.id][messlst[item.id].length-1].content}}
            暂无消息


        {{acceptUser}}


              {{item.send_name}}   {{item.send_date}}
              {{item.content}}


              {{item.send_date}}   {{item.send_name}}
              {{item.content}}


        发送


      暂无消息,请选择用户对象
CSS样式
.mess{
  border-radius: 5px;
  background-clip: padding-box;
  margin:20px auto;
  width: 950px;
  height: 600px;
  border: 1px #8a8282;
  box-shadow: 0 0 10px #9b9393;
  background-color: white;
  display: flex;
}
.mess_user_list{
  width: 270px;
  height: 100%;
  background-color: #9f9c9c;
}
.mess_dialog{
  width: 680px;
  height: 600px;
}
.mess_dialog_false{
  width: 680px;
  height: 600px;
  text-align: center;
  line-height: 600px;
}
.dlog_header{
  width: 680px;
  height: 50px;
  border-bottom: 1px solid #8a8282;
  display: flex;
  align-items: center;
}
.dlog_content{
  width: 680px;
  height: 370px;
  border-bottom: 1px solid #8a8282;
  overflow-y: scroll;
}
.dlog_footer{
  width: 680px;
  height: 180px;
}
.user{
  height: 60px;
  width: 270px;
  /*垂直居中*/
  display: flex;
  align-items: center;
  border-bottom: 1px solid #0a0a0a;
}
.user_list{
  height: 540px;
  overflow-y: scroll;
}
.user_list_item{
  height: 60px;
  background-color: #b3b3b4;
  border-bottom: 1px solid #0a0a0a;
  display: flex;
  align-items: center;
}
.content_other{
  width: 650px;
}
.content_me{
  width: 650px;
  text-align: right;
}
第四步
前端js代码,连接后端ws端口,监听ws的四个状态,并各种绑定事件:
open-连接成功
close-连接关闭
error-连接错误
message-收到后端传来的消息
const ws = new WebSocket('ws://localhost:8082?id=' + id)
mounted () {
    ws.addEventListener('open', this.handleWsOpen.bind(this), false)
    ws.addEventListener('close', this.handleWsClose.bind(this), false)
    ws.addEventListener('error', this.handleWsError.bind(this), false)
    ws.addEventListener('message', this.handleWsMessage.bind(this), false)
  },
methods: {
    handleWsOpen () {
      console.log('WebSocket2已经打开 ')
    },
    handleWsClose (e) {
      console.log('WebSocket2关闭')
      console.log(e)
    },
    handleWsError (e) {
      console.log('WebSocket2发生错误')
      console.log(e)
    },
    handleWsMessage (e) {
      console.log('WebSocket2收到消息:' + e.data)
    }
}
在连接成功ws后端端口后,前端就可以使用ws.send()发送消息给后端,同时存储消息于mysql,然后后端处理完成后,再按需发送给需要发送的前端对象即可。


