
OpenHarmony实战:Combo解决方案之W800芯片移植案例


.png)


本方案基于OpenHarmony LiteOS-M内核,使用联盛德W800芯片的润和软件海王星系列Neptune100开发板,进行开发移植。
移植架构采用Board与SoC分离方案,支持通过Kconfig图形化配置编译选项,增加玄铁ck804ef架构移植,实现了HDF、XTS等子系统及组件的适配。
适配准备
准备ubuntu20.04系统环境,安装csky-abiv2-elf-gcc交叉编译工具链。
编译构建
目录规划
本方案的目录结构使用Board和Soc解耦的思路:
芯片适配目录规划为:
device
├── board                                --- 单板厂商目录
│   └── hihope                           --- 单板厂商名字:HiHope
│       └── neptune100                   --- 单板名:Neptune100
└── soc                                  --- SoC厂商目录
    └── winnermicro                      --- SoC厂商名字:联盛德
        └── wm800                        --- SoC Series名:w800系列芯片
产品样例目录规划为:
vendor
└── hihope                               --- 开发产品样例厂商目录,润和软件的产品样例
    ├── neptune_iotlink_demo             --- 产品名字:Neptune100产品样例代码
    └── ...
产品定义
vendor/hihope/neptune_iotlink_demo/config.json文件下,描述了产品使用的内核、单板、子系统等信息。其中,内核、单板型号、单板厂商需提前规划好,是预编译指令hb set关注的。例如:
{
  "product_name": "neptune_iotlink_demo",   --- 产品名
  "ohos_version": "OpenHarmony 3.1",        --- 使用的OS版本
  "type":"mini",                            --- 系统类型: mini
  "version": "3.0",                         --- 系统版本: 3.0
  "device_company": "hihope",               --- 单板厂商:hihope
  "board": "neptune100",                    --- 单板名:neptune100
  "kernel_type": "liteos_m",                --- 内核类型:liteos_m
  "kernel_version": "3.0.0",                --- 内核版本:3.0.0
  "subsystems": []                          --- 子系统
}
填入的信息与规划的目录相对应,其中device_company和board用于关联出device/board//目录。
单板配置
关联到的目录下,在device/board/hihope/neptune100/liteos_m目录下放置config.gni文件,该配置文件用于描述该单板信息,包括CPU型号、交叉编译工具链及全局编译、链接参数等重要信息:
# Kernel type, e.g. "linux", "liteos_a", "liteos_m".
kernel_type = "liteos_m"
# Kernel version.
kernel_version = "3.0.0"
# Board CPU type, e.g. "cortex-a7", "riscv32".
board_cpu = "ck804ef"
# Board arch, e.g.  "armv7-a", "rv32imac".
board_arch = "ck803"
# Toolchain name used for system compiling.
# E.g. gcc-arm-none-eabi, arm-linux-harmonyeabi-gcc, ohos-clang,  riscv32-unknown-elf.
# Note: The default toolchain is "ohos-clang". It's not mandatory if you use the default toolchain.
board_toolchain = "csky-elfabiv2-gcc"
#use_board_toolchain = true
# The toolchain path installed, it's not mandatory if you have added toolchain path to your ~/.bashrc.
board_toolchain_path = ""
# Compiler prefix.
board_toolchain_prefix = "csky-elfabiv2-"
# Compiler type, "gcc" or "clang".
board_toolchain_type = "gcc"
# config.json parse
if (product_path != "") {
  product_conf = read_file("${product_path}/config.json", "json")
  product_name = product_conf.product_name
  bin_list = product_conf.bin_list
}
# Board related common compile flags.
board_cflags = [
  "-mcpu=ck804ef",
  "-mhard-float",
  "-DGCC_COMPILE=1",
  "-DTLS_CONFIG_CPU_XT804=1",
  "-DNIMBLE_FTR=1",
  "-D__CSKY_V2__=1",
  "-DCPU_CK804",
  "-O2",
  "-g3",
  "-Wall",
  "-ffunction-sections",
  "-MMD",
  "-MP",
]
board_cxx_flags = board_cflags
board_asmflags = [
  "-mcpu=ck804ef",
  "-DCPU_CK804",
]
board_ld_flags = []
# Board related headfiles search path.
board_include_dirs = []
# Board adapter dir for OHOS components.
board_adapter_dir = ""
# Sysroot path.
board_configed_sysroot = ""
# Board storage type, it used for file system generation.
storage_type = ""
预编译
在工程根目录下输入预编译指令hb set可显示相关产品信息,如下:
hb set
OHOS Which product do you need?  (Use arrow keys)
hihope
 > neptune_iotlink_demo
OHOS Which product do you need?  neptune_iotlink_demo
执行hb set后,会在根目录下自动生成ohos_config.json文件,文件中会列出待编译的产品信息。
通过hb env可以查看选择出来的预编译环境变量。
[OHOS INFO] root path: /home/xxxx/openharmony_w800
[OHOS INFO] board: neptune100
[OHOS INFO] kernel: liteos_m
[OHOS INFO] product: neptune_iotlink_demo
[OHOS INFO] product path: /home/xxxx/openharmony_w800/vendor/hihope/neptune_iotlink_demo
[OHOS INFO] device path: /home/xxxx/openharmony_w800/device/board/hihope/neptune100/liteos_m
[OHOS INFO] device company: hihope
至此,预编译适配完成,但工程还不能执行hb build进行编译,还需要准备好后续的LiteOS-M内核移植。
内核移植
Kconfig适配
在kernel/liteos_m的编译中,需要在相应的单板以及SoC目录下使用Kconfig文件进行索引。
-
在vendor/hihope/neptune_iotlink_demo目录下创建kernel_configs目录,并创建debug.config空文件。
-
打开kernel/liteos_m/Kconfig文件,可以看到在该文件通过orsource命令导入了device/board和device/soc下多个Kconfig文件,后续需要创建并修改这些文件:
orsource "../../device/board/*/Kconfig.liteos_m.shields"
orsource "../../device/board/$(BOARD_COMPANY)/Kconfig.liteos_m.defconfig.boards"
orsource "../../device/board/$(BOARD_COMPANY)/Kconfig.liteos_m.boards"
orsource "../../device/soc/*/Kconfig.liteos_m.defconfig"
orsource "../../device/soc/*/Kconfig.liteos_m.series"
orsource "../../device/soc/*/Kconfig.liteos_m.soc"
-
在device/board/hihope下创建相应的的Kconfig文件:
├──  neptune100                                  --- neptune100单板配置目录
│   ├── Kconfig.liteos_m.board                   --- 单板的配置选项
│   ├── Kconfig.liteos_m.defconfig.board         --- 单板的默认配置项
│   └── liteos_m
│       └── config.gni                           --- 单板的配置文件
├── Kconfig.liteos_m.boards                      --- 单板厂商下Boards配置信息
└── Kconfig.liteos_m.defconfig.boards            --- 单板厂商下Boards默认配置信息
-
修改Board目录下Kconfig文件内容:
在 neptune100/Kconfig.liteos_m.board中添加,
config BOARD_NEPTUNE100
    bool "select board neptune100"
    depends on SOC_WM800
配置只有SOC_WM800被选后,BOARD_NEPTUNE100才可被选。
在 neptune100/Kconfig.liteos_m.defconfig.board中添加,
if BOARD_NEPTUNE100
endif #BOARD_NEPTUNE100
用于添加 BOARD_NEPTUNE100默认配置
-
在device/soc/winnermicro下创建相应的的Kconfig文件:
├── wm800                                        --- W800系列
│   ├── Kconfig.liteos_m.defconfig.wm800         --- W800芯片默认配置
│   ├── Kconfig.liteos_m.defconfig.series        --- W800系列默认配置
│   ├── Kconfig.liteos_m.series                  --- W800系列配置
│   └── Kconfig.liteos_m.soc                     --- W800芯片配置
├── Kconfig.liteos_m.defconfig                   --- SoC默认配置
├── Kconfig.liteos_m.series                      --- Series配置
└── Kconfig.liteos_m.soc                         --- SoC配置
-
修改Soc目录下Kconfig文件内容:
在wm800/Kconfig.liteos_m.defconfig.wm800中添加:
 config SOC
    string
    default "wm800"
    depends on SOC_WM800
在wm800/Kconfig.liteos_m.defconfig.series中添加:
if SOC_SERIES_WM800
rsource "Kconfig.liteos_m.defconfig.wm800"
config SOC_SERIES
    string
    default "wm800"
endif
在 wm800/Kconfig.liteos_m.series中添加:
config SOC_SERIES_WM800
    bool "winnermicro 800 Series"
    select ARM
    select SOC_COMPANY_WINNERMICRO              --- 选择 SOC_COMPANY_WINNERMICRO
    select CPU_XT804
    help
        Enable support for winnermicro 800 series
在选择了 SOC_SERIES_WM800之后,才可选 wm800/Kconfig.liteos_m.soc文件中的 SOC_WM800:
choice
    prompt "Winnermicro 800 series SoC"
    depends on SOC_SERIES_WM800
config SOC_WM800                         --- 选择 SOC_WM800
    bool "SoC WM800"
endchoice
综上所述,要编译单板BOARD_NEPTUNE100,则要分别选中:SOC_COMPANY_WINNERMICRO、SOC_SERIES_WM800、SOC_WM800
-
在kernel/liteos_m中执行make menuconfig进行选择配置,能够对SoC Series进行选择:

配置后的文件会默认保存在vendor/hihope/neptune_iotlink_demo/kernel_configs/debug.config,也可以直接填写debug.config:
LOSCFG_PLATFORM_QEMU_CSKY_SMARTL=y
LOSCFG_SOC_SERIES_WM800=y
模块化编译
Board和SoC的编译采用模块化的编译方法,从kernel/liteos_m/BUILD.gn开始逐级向下递增。本方案的适配过程如下:
-
在device/board/hihope中新建文件BUILD.gn,新增内容如下:
if (ohos_kernel_type == "liteos_m") {
  import("//kernel/liteos_m/liteos.gni")
  module_name = get_path_info(rebase_path("."), "name")
  module_group(module_name) {
    modules = [
      "neptune100",                     --- 单板模块
      "shields",
    ]
  }
}
在上述BUILD.gn中,neptune100以及shields即是按目录层级组织的模块名。
-
在device/soc/winnermicro中,新建文件BUILD.gn,按目录层级组织,新增内容如下:
if (ohos_kernel_type == "liteos_m") { import("//kernel/liteos_m/liteos.gni") module_name = get_path_info(rebase_path("."), "name") module_group(module_name) { modules = [ "hals", "wm800", ] } } -
在device/soc/winnermicro各个层级模块下,同样新增文件BUILD.gn,将该层级模块加入编译。以device/soc/winnermicro/wm800/board/platform/sys/BUILD.gn为例:
import("//kernel/liteos_m/liteos.gni") module_name = get_path_info(rebase_path("."), "name") kernel_module(module_name) { --- 编译的模块 sources = [ --- 编译的源文件 "wm_main.c", ] include_dirs = [ --- 模块内使用到的头文件 ".", ] } -
为了组织链接以及一些编译选项,在device/soc/winnermicro/wm800/board/BUILD.gn下的config("board_config")填入了相应的参数:
config("board_config") { ldflags = [] --- 链接参数,包括ld文件 libs = [] --- 链接库 include_dirs = [] --- 公共头文件 -
为了组织一些产品侧的应用,需要强制链接到产品工程中来,本方案在vendor相应的config.json加入了相应的list来组织,在vendor/hihope/neptune_iotlink_demo/config.json增加对应的list:
 "bin_list": [                            --- demo list
   {
     "elf_name": "hihope",
     "enable": "false",                   --- list开关
     "force_link_libs": [
       "bootstrap",
       "broadcast",
       ...
     ]
   }
将demo应用作为模块库来管理,开启/关闭某个demo,在bin_list中增减相应库文件即可。bin_list在gn中可以直接被读取,在device/board/hihope/neptune100/liteos_m/config.gni新增内容:
# config.json parse
if (product_path != "") {
  product_conf = read_file("${product_path}/config.json", "json")
  product_name = product_conf.product_name
  bin_list = product_conf.bin_list
}
读取list后即可在相应的链接选项上加入相关的组件库,在//device/soc/winnermicro/wm800/BUILD.gn添加内容:
foreach(bin_file, bin_list) {
   build_enable = bin_file.enable
   ...
   if(build_enable == "true")
   {
     ...
     foreach(force_link_lib, bin_file.force_link_libs) {
     ldflags += [ "-l${force_link_lib}" ]
     }
     ...
   }
}
内核子系统适配
在vendor/hihope/neptune_iotlink_demo/config.json添加内核子系统及相关配置,如下:
"subsystems": [
 {
   "subsystem": "kernel",
   "components": [
     {
       "component": "liteos_m", "features":[]
     }
   ]
},
内核启动适配
由于Neptune100开发板的芯片架构为OpenHarmony不支持的ck804ef架构,需要进行ck804ef架构移植。适配 kernel\liteos_m\arch\include中定义的通用的文件以及函数列表,并放在了 kernel\liteos_m\arch\csky\v2\ck804\gcc文件夹下。
内核初始化示例如下:
osStatus_t ret = osKernelInitialize();                    --- 内核初始化
if(ret == osOK)
{
  threadId = osThreadNew((osThreadFunc_t)sys_init,NULL,&g_main_task); --- 创建init线程
  if(threadId!=NULL)
  {
    osKernelStart();                                          --- 线程调度
  }
}
board_main在启动OHOS_SystemInit之前,需要初始化必要的动作,如下:
...
UserMain();         --- 启动OpenHarmony  OHOS_SystemInit的之前完成驱动的初始化
...
OHOS_SystemInit();  --- 启动OpenHarmony服务,以及组件初始化
...
UserMain函数在device/soc/winnermicro/wm800/board/app/main.c文件中,如下:
...
if (DeviceManagerStart()) {                                      --- HDF初始化
    printf("[%s] No drivers need load by hdf manager!",__func__);
}
...
HDF驱动框架适配
HDF驱动框架提供了一套应用访问硬件的统一接口,可以简化应用开发,添加HDF组件需要在//vendor/hihope/neptune_iotlink_demo/kernel_configs添加:
LOSCFG_DRIVERS_HDF=y
LOSCFG_DRIVERS_HDF_PLATFORM=y
驱动适配相关文件放置在drivers/adapter/platform中,对应有gpio,i2c,pwm,spi,uart,watchdog,都是通过HDF机制加载,本章节以GPIO和UART为例进行详细说明。
GPIO适配
-
芯片驱动适配文件位于drivers/adapter/platform目录,在gpio目录增加gpio_wm.c文件,在BUILD.gn文件中,描述了W800驱动的编译适配。如下:
... if (defined(LOSCFG_SOC_COMPANY_WINNERMICRO)) { sources += [ "gpio_wm.c" ] } ... -
gpio_wm.c中驱动描述文件如下:
/* HdfDriverEntry definitions */ struct HdfDriverEntry g_GpioDriverEntry = { .moduleVersion = 1, .moduleName = "WM_GPIO_MODULE_HDF", .Bind = GpioDriverBind, .Init = GpioDriverInit, .Release = GpioDriverRelease, }; HDF_INIT(g_GpioDriverEntry); -
在device/board/hihope/shields/neptune100/neptune100.hcs添加gpio硬件描述信息, 添加内容如下:
root { platform { gpio_config { match_attr = "gpio_config"; groupNum = 1; pinNum = 48; } } } -
在GpioDriverInit获取hcs参数进行初始化,如下:
 ...
 gpioCntlr = GpioCntlrFromHdfDev(device);        --- gpioCntlr节点变量获取具体gpio配置
 if (gpioCntlr == NULL) {
     HDF_LOGE("GpioCntlrFromHdfDev fail\r\n");
     return HDF_DEV_ERR_NO_DEVICE_SERVICE;
 }
 ...
UART适配
-
芯片驱动适配文件位于drivers/adapter/platform目录,在uart目录增加uart_wm.c文件,在BUILD.gn文件中,描述了W800驱动的编译适配。如下:
... if (defined(LOSCFG_SOC_COMPANY_WINNERMICRO)) { sources += [ "uart_wm.c" ] } ... -
uart_wm.c中驱动描述文件如下:
/* HdfDriverEntry definitions */ struct HdfDriverEntry g_UartDriverEntry = { .moduleVersion = 1, .moduleName = "W800_UART_MODULE_HDF", .Bind = UartDriverBind, .Init = UartDriverInit, .Release = UartDriverRelease, }; /* Initialize HdfDriverEntry */ HDF_INIT(g_UartDriverEntry); -
在device/board/hihope/shields/neptune100/neptune100.hcs添加uart硬件描述信息, 添加内容如下:
root { platform { uart_config { /* uart0 { match_attr = "uart0_config"; num = 0; baudrate = 115200; parity = 0; stopBit = 1; data = 8; }*/ uart1 { match_attr = "uart1_config"; num = 1; baudrate = 115200; parity = 0; stopBit = 1; data = 8; } } } } -
在UartDriverInit获取hcs参数进行初始化,如下:
 ...
 host = UartHostFromDevice(device);
 if (host == NULL) {
     HDF_LOGE("%s: host is NULL", __func__);
     return HDF_ERR_INVALID_OBJECT;
 }
 ...
OpenHarmony子系统适配
子系统的编译选项入口在相应产品config.json下,如:vendor/hihope/neptune_iotlink_demo/config.json。
wifi_lite组件
首先,在config.json文件中,增加communication子系统的wifi_lite部件,如下:
{
  "subsystem": "communication",
  "components": [
    {
      "component": "wifi_lite",
      "optional": "true"
    }
  ]
},
wifi_lite部件在 build/lite/components/communication.json文件中,描述如下:
{
  "component": "wifi_lite",
  "targets": [
    "//foundation/communication/wifi_lite:wifi"       --- wifi_lite的编译目标
  ]
},
在本案例中,wifi适配源码可见device/soc/winnermicro/wm800/board/src/wifi/wm_wifi.c,如下:
int tls_wifi_netif_add_status_event(tls_wifi_netif_status_event_fn event_fn)   ---用于增加wifi事件功能
{
  u32 cpu_sr;
  struct tls_wifi_netif_status_event *evt;
  //if exist, remove from event list first.
  tls_wifi_netif_remove_status_event(event_fn);
  evt = tls_mem_alloc(sizeof(struct tls_wifi_netif_status_event));
  if(evt==NULL)
      return -1;
  memset(evt, 0, sizeof(struct tls_wifi_netif_status_event));
  evt->status_callback = event_fn;
  cpu_sr = tls_os_set_critical();
  dl_list_add_tail(&wifi_netif_status_event.list, &evt->list);
  tls_os_release_critical(cpu_sr);
  return 0;
}
系统服务管理子系统适配
系统服务管理子系统适配添加samgr_lite部件,直接在config.json配置,如下:
{
  "subsystem": "systemabilitymgr",
  "components": [
    {
      "component": "samgr_lite"
    }
  ]
},
公共基础库子系统适配
公共基础库子系统适配添加了kv_store、file部件,直接在config.json配置,如下:
{
  "subsystem": "utils",
  "components": [
    {
      "component": "kv_store",
      "features": [
        "enable_ohos_utils_native_lite_kv_store_use_posix_kv_api = true"
      ]
    },
    { "component": "file", "features":[] }
  ]
},
适配kv_store部件时,键值对会写到文件中。在轻量系统中,文件操作相关接口有POSIX接口与HalFiles接口这两套实现。 因为对接内核的文件系统,采用POSIX相关的接口,所以features需要增加enable_ohos_utils_native_lite_kv_store_use_posix_kv_api = true。
启动恢复子系统适配
启动恢复子系统适配添加了bootstrap_lite、syspara_lite部件,直接在config.json配置,如下:
{
  "subsystem": "startup",
  "components": [
    {
      "component": "bootstrap_lite"
    },
    {
      "component": "syspara_lite",
      "features": [
        "enable_ohos_startup_syspara_lite_use_posix_file_api = true",
        "config_ohos_startup_syspara_lite_data_path = \"/data/\""
      ]
    }
  ]
},
适配bootstrap_lite部件时,需要在链接脚本文件device/soc/winnermicro/wm800/board/ld/w800/gcc_csky.ld中手动新增如下段:
.zinitcall_array :
{
 . = ALIGN(0x4) ;
 PROVIDE_HIDDEN (__zinitcall_core_start = .);
 KEEP (*(SORT(.zinitcall.core*)))
 KEEP (*(.zinitcall.core*))
 PROVIDE_HIDDEN (__zinitcall_core_end = .);
 . = ALIGN(0x4) ;
 PROVIDE_HIDDEN (__zinitcall_device_start = .);
 KEEP (*(SORT(.zinitcall.device*)))
 KEEP (*(.zinitcall.device*))
 PROVIDE_HIDDEN (__zinitcall_device_end = .);
 . = ALIGN(0x4) ;
 PROVIDE_HIDDEN (__zinitcall_bsp_start = .);
 KEEP (*(SORT(.zinitcall.bsp*)))
 KEEP (*(.zinitcall.bsp*))
 PROVIDE_HIDDEN (__zinitcall_bsp_end = .);
 . = ALIGN(0x4) ;
 PROVIDE_HIDDEN (__zinitcall_sys_service_start = .);
 KEEP (*(SORT(.zinitcall.sys.service*)))
 KEEP (*(.zinitcall.sys.service*))
 PROVIDE_HIDDEN (__zinitcall_sys_service_end = .);
 . = ALIGN(0x4) ;
 PROVIDE_HIDDEN (__zinitcall_app_service_start = .);
 KEEP (*(SORT(.zinitcall.app.service*)))
 KEEP (*(.zinitcall.app.service*))
 PROVIDE_HIDDEN (__zinitcall_app_service_end = .);
 . = ALIGN(0x4) ;
 PROVIDE_HIDDEN (__zinitcall_sys_feature_start = .);
 KEEP (*(SORT(.zinitcall.sys.feature*)))
 KEEP (*(.zinitcall.sys.feature*))
 PROVIDE_HIDDEN (__zinitcall_sys_feature_end = .);
 . = ALIGN(0x4) ;
 PROVIDE_HIDDEN (__zinitcall_app_feature_start = .);
 KEEP (*(SORT(.zinitcall.app.feature*)))
 KEEP (*(.zinitcall.app.feature*))
 PROVIDE_HIDDEN (__zinitcall_app_feature_end = .);
 . = ALIGN(0x4) ;
 PROVIDE_HIDDEN (__zinitcall_run_start = .);
 KEEP (*(SORT(.zinitcall.run*)))
 KEEP (*(.zinitcall.run*))
 PROVIDE_HIDDEN (__zinitcall_run_end = .);
 . = ALIGN(0x4) ;
 PROVIDE_HIDDEN (__zinitcall_test_start = .);
 KEEP (*(SORT(.zinitcall.test*)))
 KEEP (*(.zinitcall.test*))
 PROVIDE_HIDDEN (__zinitcall_test_end = .);
 . = ALIGN(0x4) ;
 PROVIDE_HIDDEN (__zinitcall_exit_start = .);
 KEEP (*(SORT(.zinitcall.exit*)))
 KEEP (*(.zinitcall.exit*))
 PROVIDE_HIDDEN (__zinitcall_exit_end = .);
} > REGION_RODATA
需要新增上述段是因为bootstrap_init提供的对外接口,见utils/native/lite/include/ohos_init.h文件,采用的是灌段的形式,最终会保存到上述链接段中。主要的服务自动初始化宏如下表格所示:
| 接口名 | 描述 |
|---|---|
| SYS_SERVICE_INIT(func) | 标识核心系统服务的初始化启动入口 |
| SYS_FEATURE_INIT(func) | 标识核心系统功能的初始化启动入口 |
| APP_SERVICE_INIT(func) | 标识应用层服务的初始化启动入口 |
| APP_FEATURE_INIT(func) | 标识应用层功能的初始化启动入口 |
通过上面加载的组件编译出来的lib文件需要手动加入强制链接。
如在 vendor/hihope/neptune_iotlink_demo/config.json 中配置了bootstrap_lite 部件
{
  "subsystem": "startup",
  "components": [
    {
      "component": "bootstrap_lite"
    },
    ...
  ]
},
bootstrap_lite部件会编译base/startup/bootstrap_lite/services/source/bootstrap_service.c,该文件中,通过SYS_SERVICE_INIT将Init函数符号灌段到__zinitcall_sys_service_start和__zinitcall_sys_service_end中,由于Init函数是没有显式调用它,所以需要将它强制链接到最终的镜像。如下:
static void Init(void)
{
    static Bootstrap bootstrap;
    bootstrap.GetName = GetName;
    bootstrap.Initialize = Initialize;
    bootstrap.MessageHandle = MessageHandle;
    bootstrap.GetTaskConfig = GetTaskConfig;
    bootstrap.flag = FALSE;
    SAMGR_GetInstance()->RegisterService((Service *)&bootstrap);
}
SYS_SERVICE_INIT(Init);   --- 通过SYS启动即SYS_INIT启动就需要强制链接生成的lib
在base/startup/bootstrap_lite/services/source/BUILD.gn文件中,描述了在out/neptune100/neptune_iotlink_demo/libs 生成 libbootstrap.a,如下:
static_library("bootstrap") {
  sources = [
    "bootstrap_service.c",
    "system_init.c",
  ]
  ...
适配syspara_lite部件时,系统参数会最终写到文件中进行持久化保存。在轻量系统中,文件操作相关接口有POSIX接口与HalFiles接口这两套实现。
因为对接内核的文件系统,采用POSIX相关的接口,所以features字段中需要增加enable_ohos_startup_syspara_lite_use_posix_file_api = true。
XTS子系统适配
XTS子系统的适配,直接在config.json中加入组件选项:
{
 "subsystem": "xts",
 "components": [
   {
     "component": "xts_acts",
     "features":
        [
       "config_ohos_xts_acts_utils_lite_kv_store_data_path = \"/data\"",
       "enable_ohos_test_xts_acts_use_thirdparty_lwip = true"
     ]
   },
   { "component": "xts_tools", "features":[] }
 ]
}
另外,XTS功能也使用了list来组织,在config.json文件中增减相应模块:
"bin_list": [
  {
    "enable": "true",
    "force_link_libs": [
       "module_ActsParameterTest",
       "module_ActsBootstrapTest",
       "module_ActsDfxFuncTest",
       "module_ActsHieventLiteTest",
       "module_ActsSamgrTest",
       "module_ActsUtilsFileTest",
       "module_ActsKvStoreTest",
       "module_ActsWifiServiceTest"
    ]
  }
],
其它组件的适配过程与官方以及其它厂商的过程类似,不再赘述。
最后
有很多小伙伴不知道学习哪些鸿蒙开发技术?不知道需要重点掌握哪些鸿蒙应用开发知识点?而且学习时频繁踩坑,最终浪费大量时间。所以有一份实用的鸿蒙(HarmonyOS NEXT)资料用来跟着学习是非常有必要的。
这份鸿蒙(HarmonyOS NEXT)资料包含了鸿蒙开发必掌握的核心知识要点,内容包含了(ArkTS、ArkUI开发组件、Stage模型、多端部署、分布式应用开发、音频、视频、WebGL、OpenHarmony多媒体技术、Napi组件、OpenHarmony内核、Harmony南向开发、鸿蒙项目实战等等)鸿蒙(HarmonyOS NEXT)技术知识点。
希望这一份鸿蒙学习资料能够给大家带来帮助,有需要的小伙伴自行领取,限时开源,先到先得~无套路领取!!
获取这份完整版高清学习路线,请点击→纯血版全套鸿蒙HarmonyOS学习资料
鸿蒙(HarmonyOS NEXT)最新学习路线
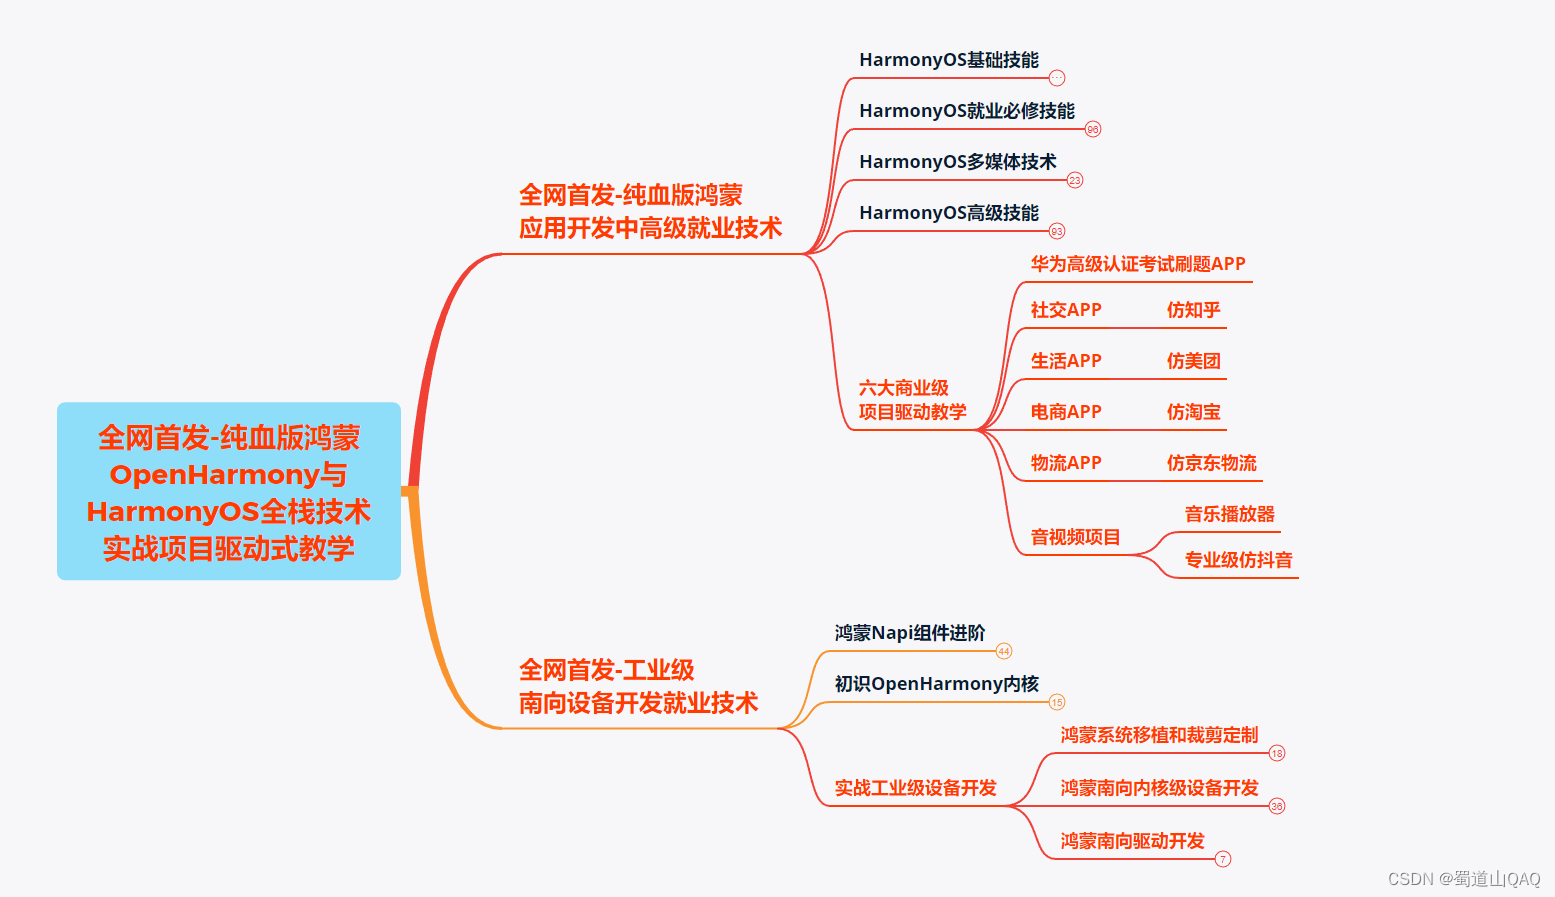
-
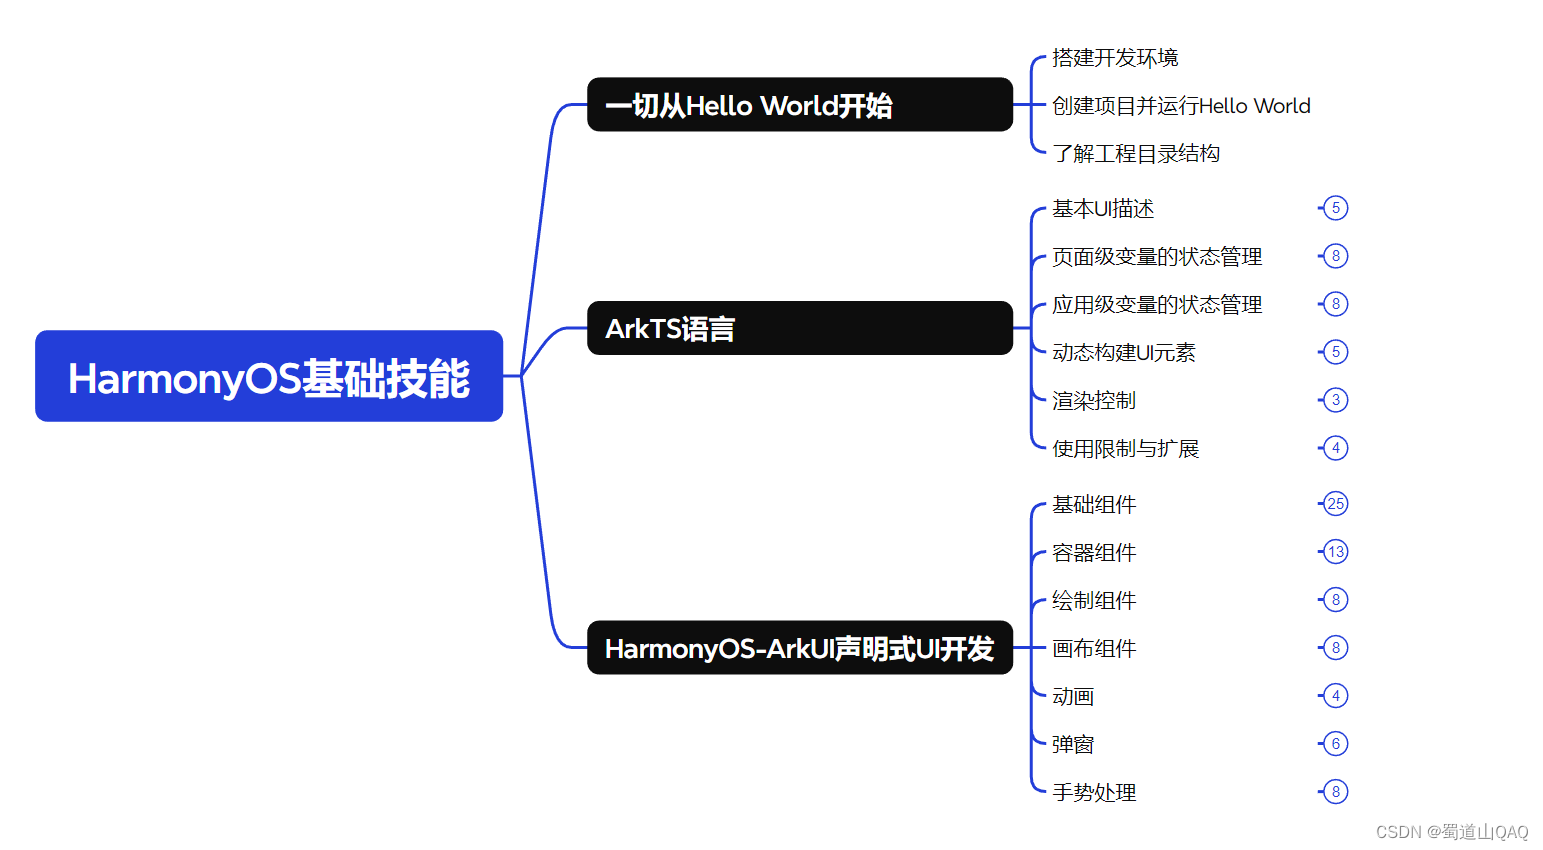
HarmonOS基础技能
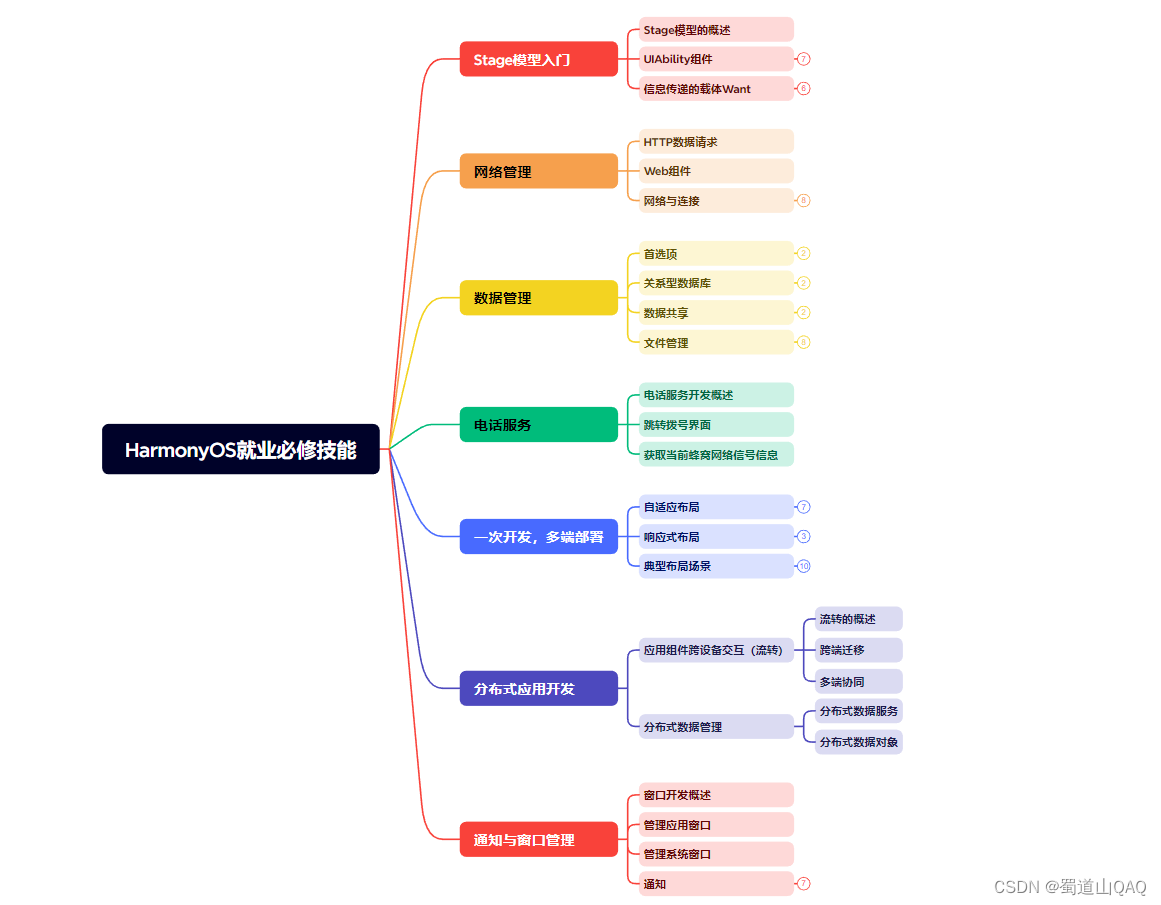
- HarmonOS就业必备技能
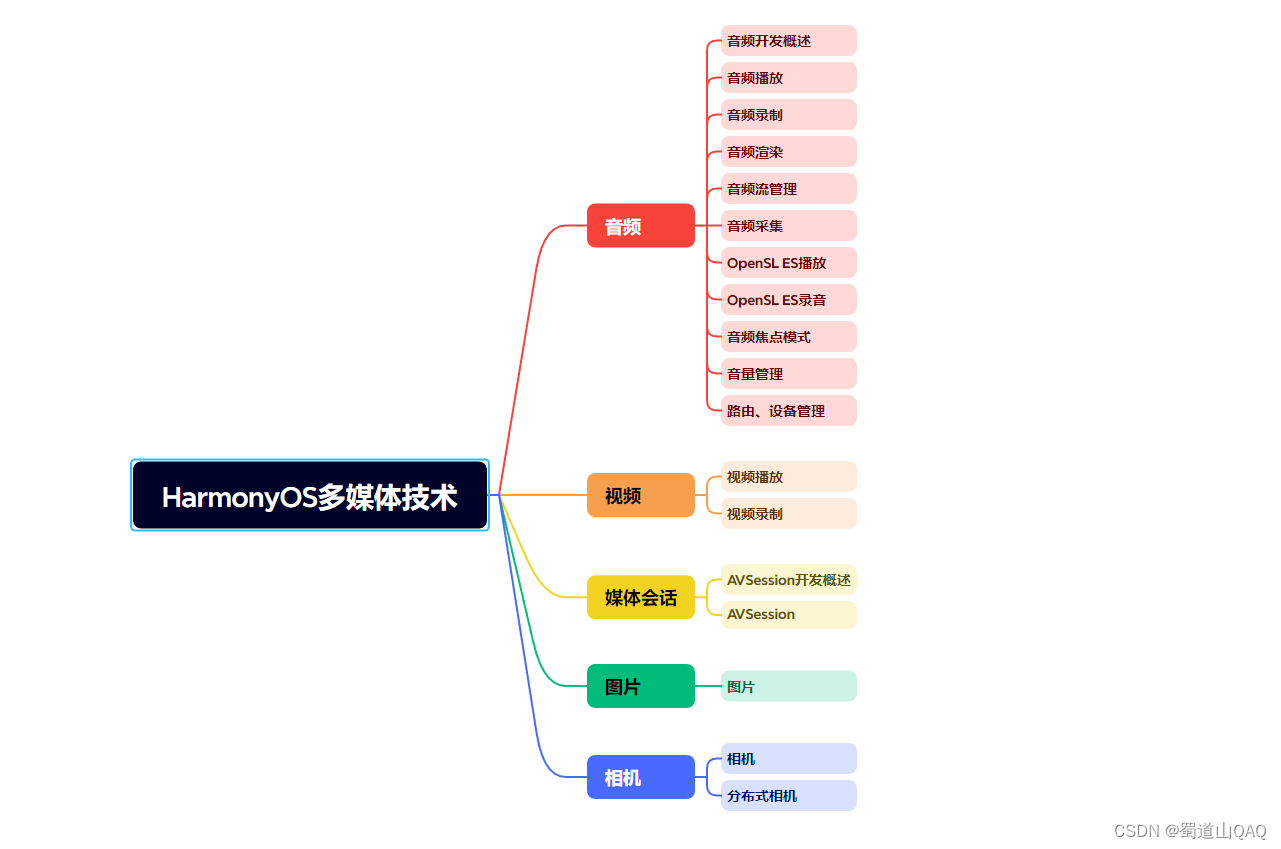
- HarmonOS多媒体技术
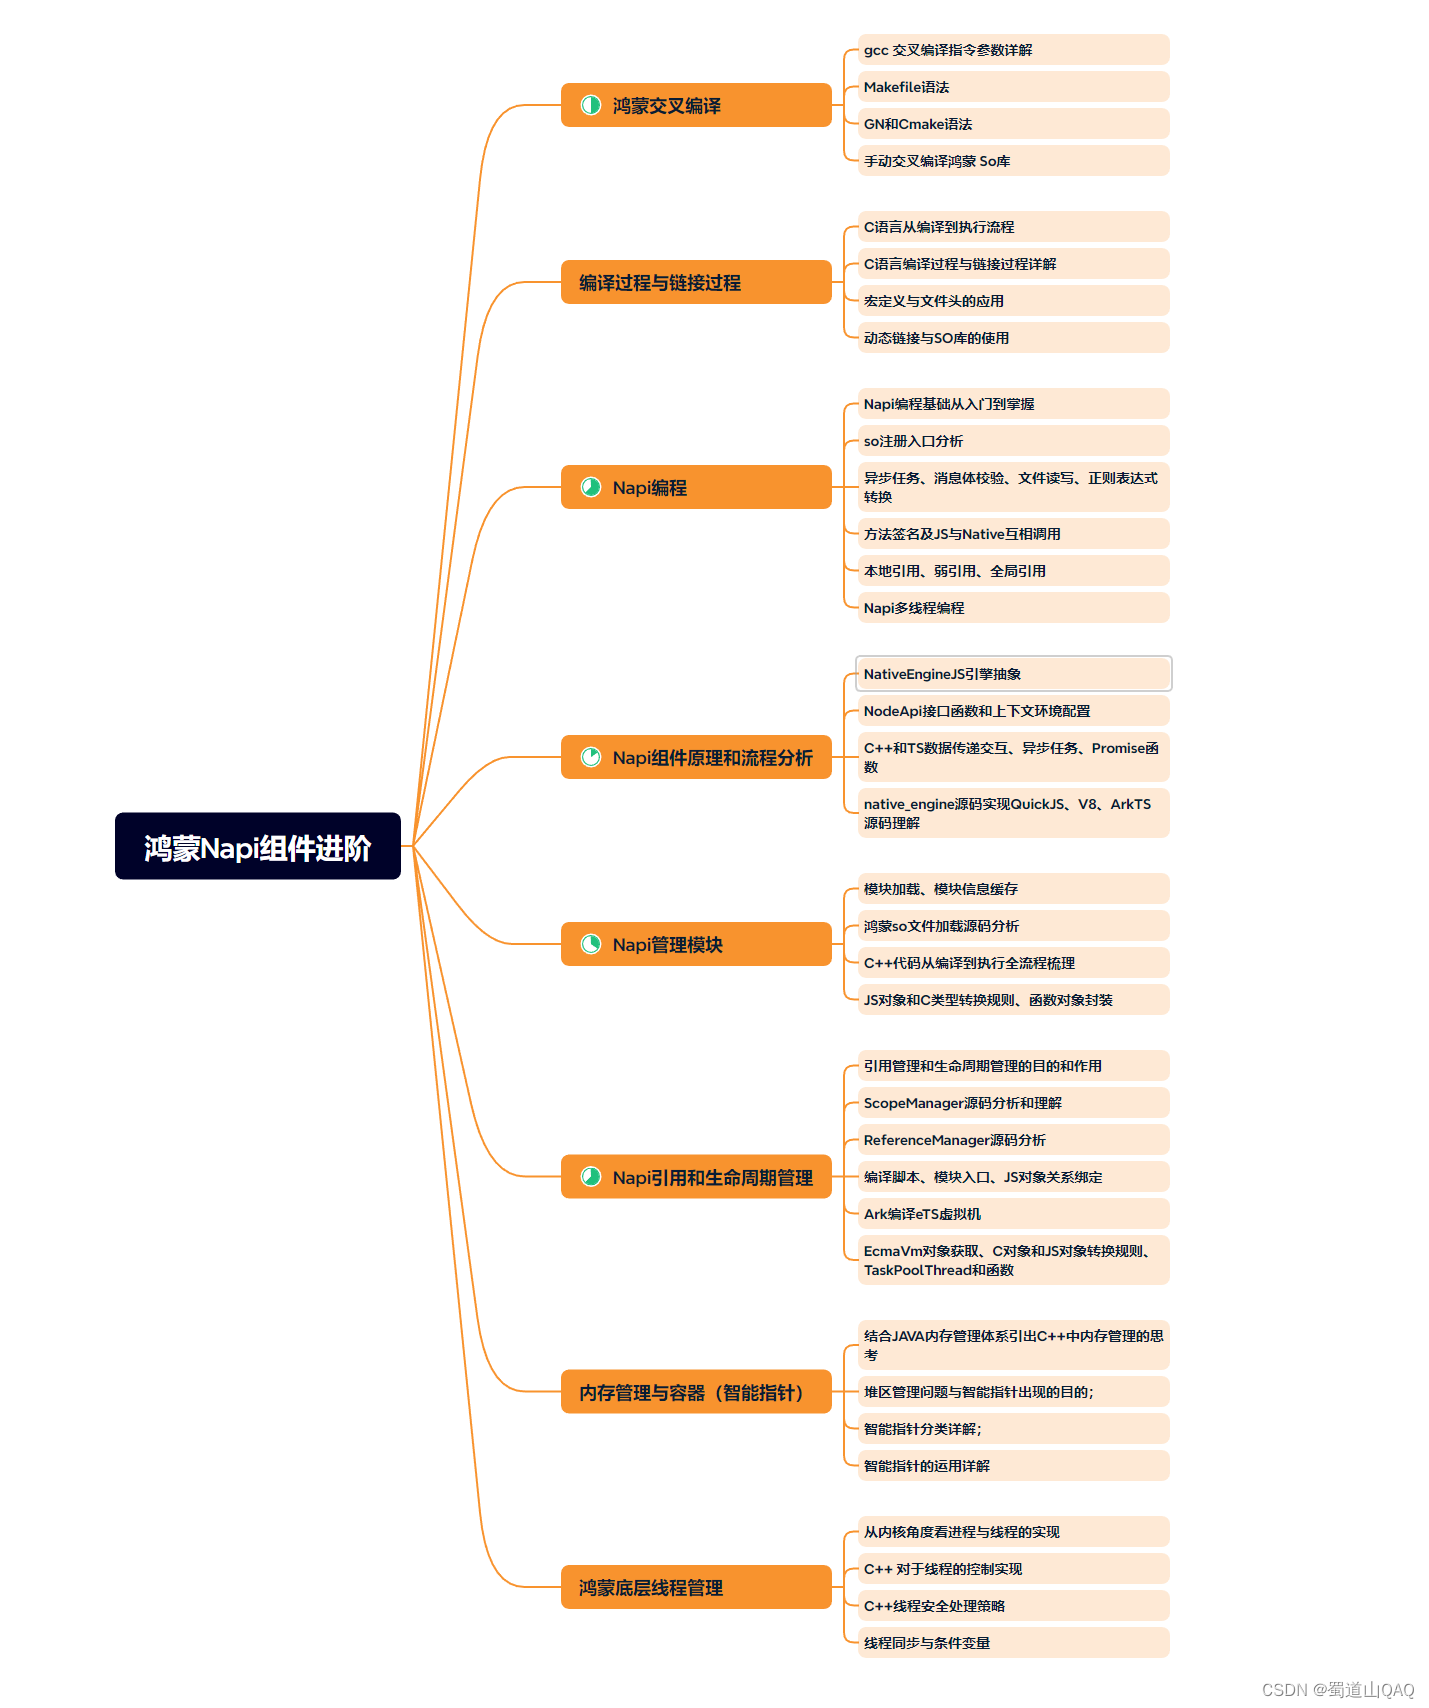
- 鸿蒙NaPi组件进阶
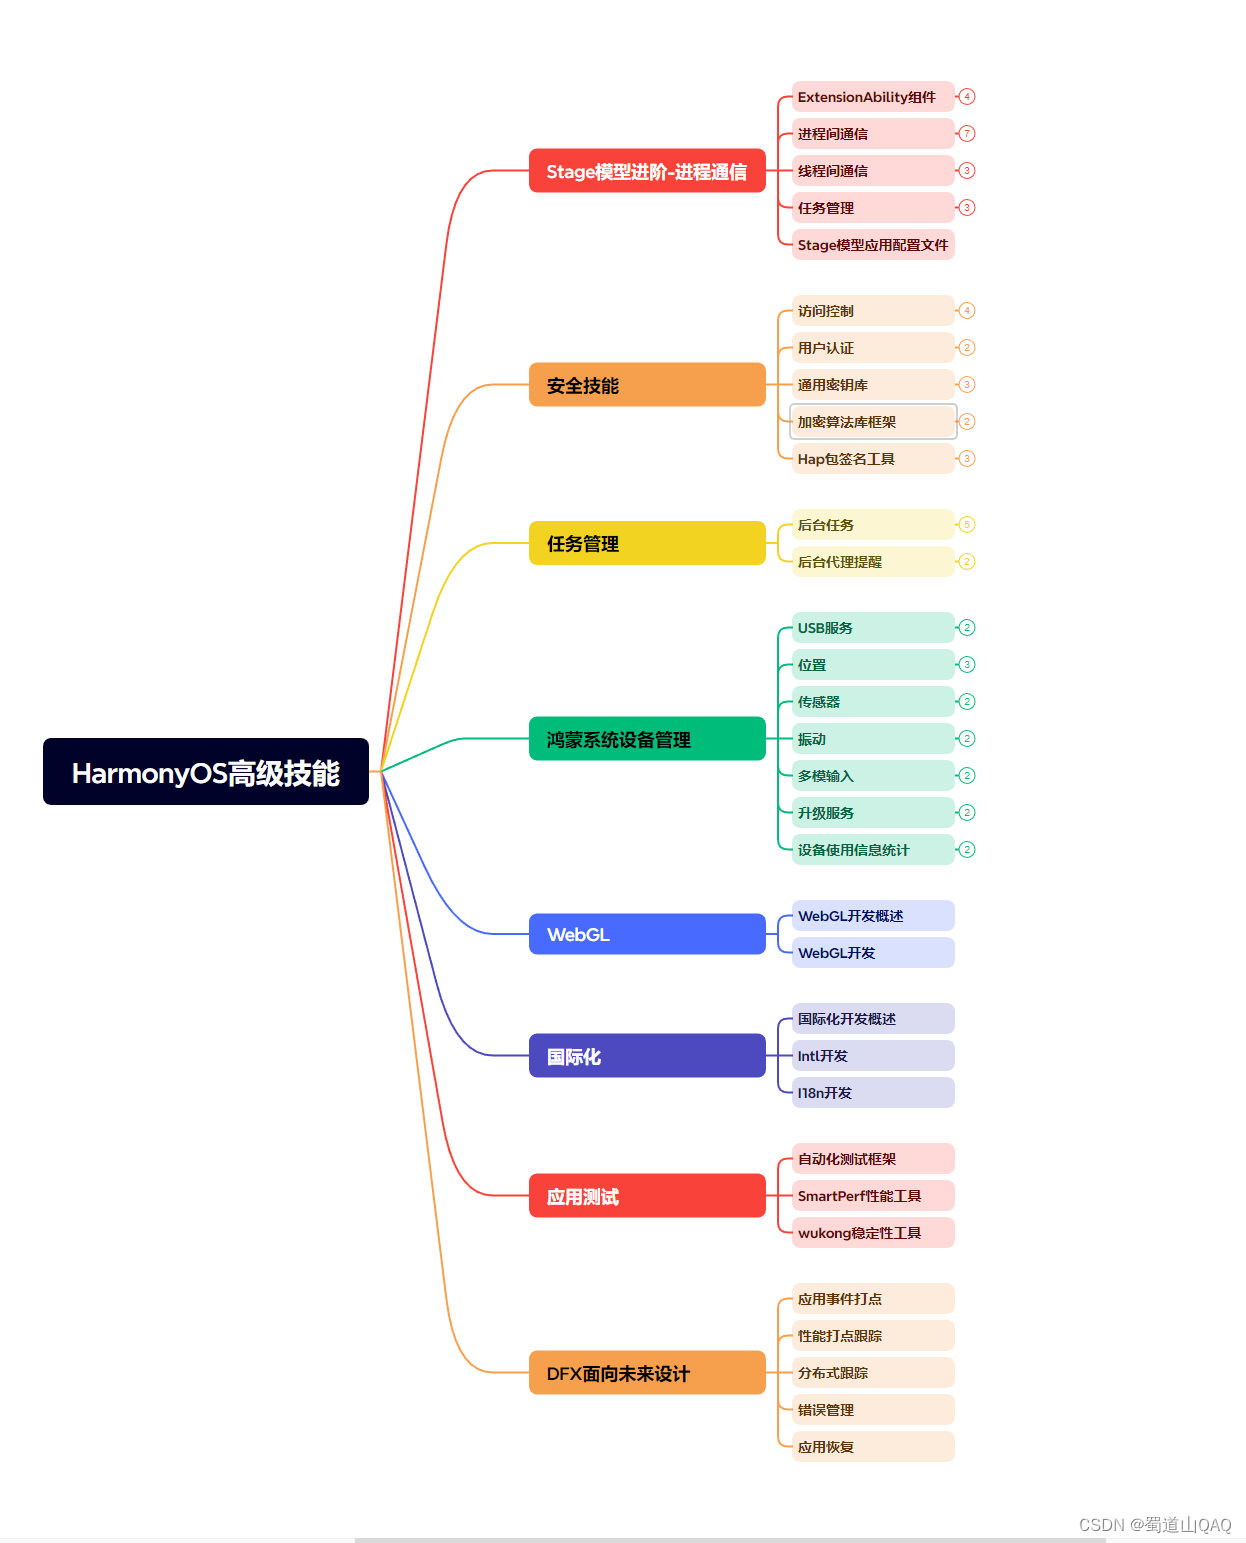
- HarmonOS高级技能
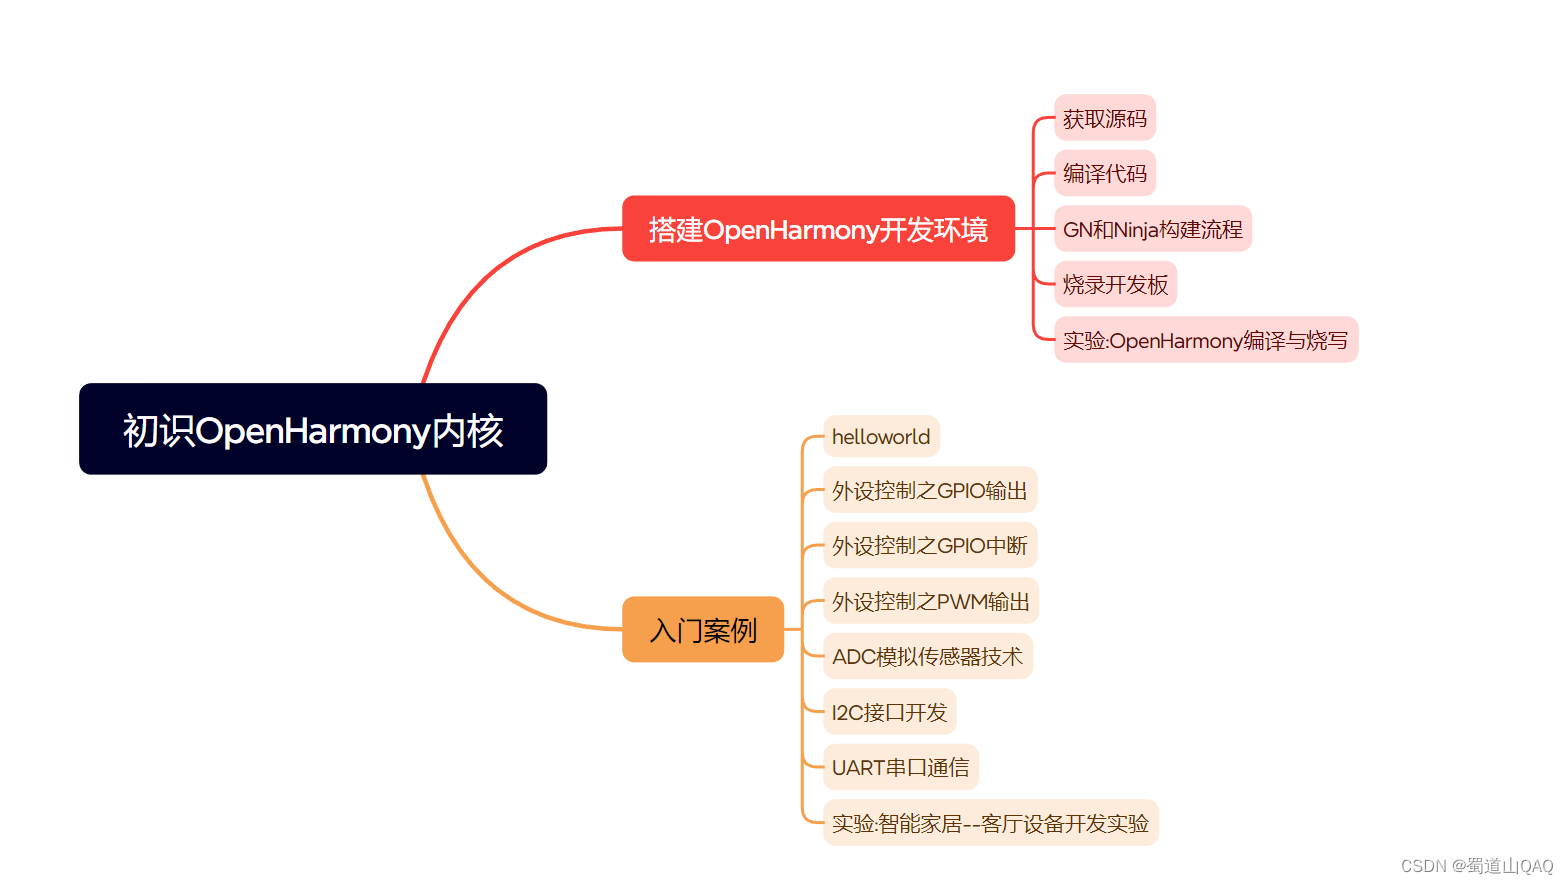
- 初识HarmonOS内核
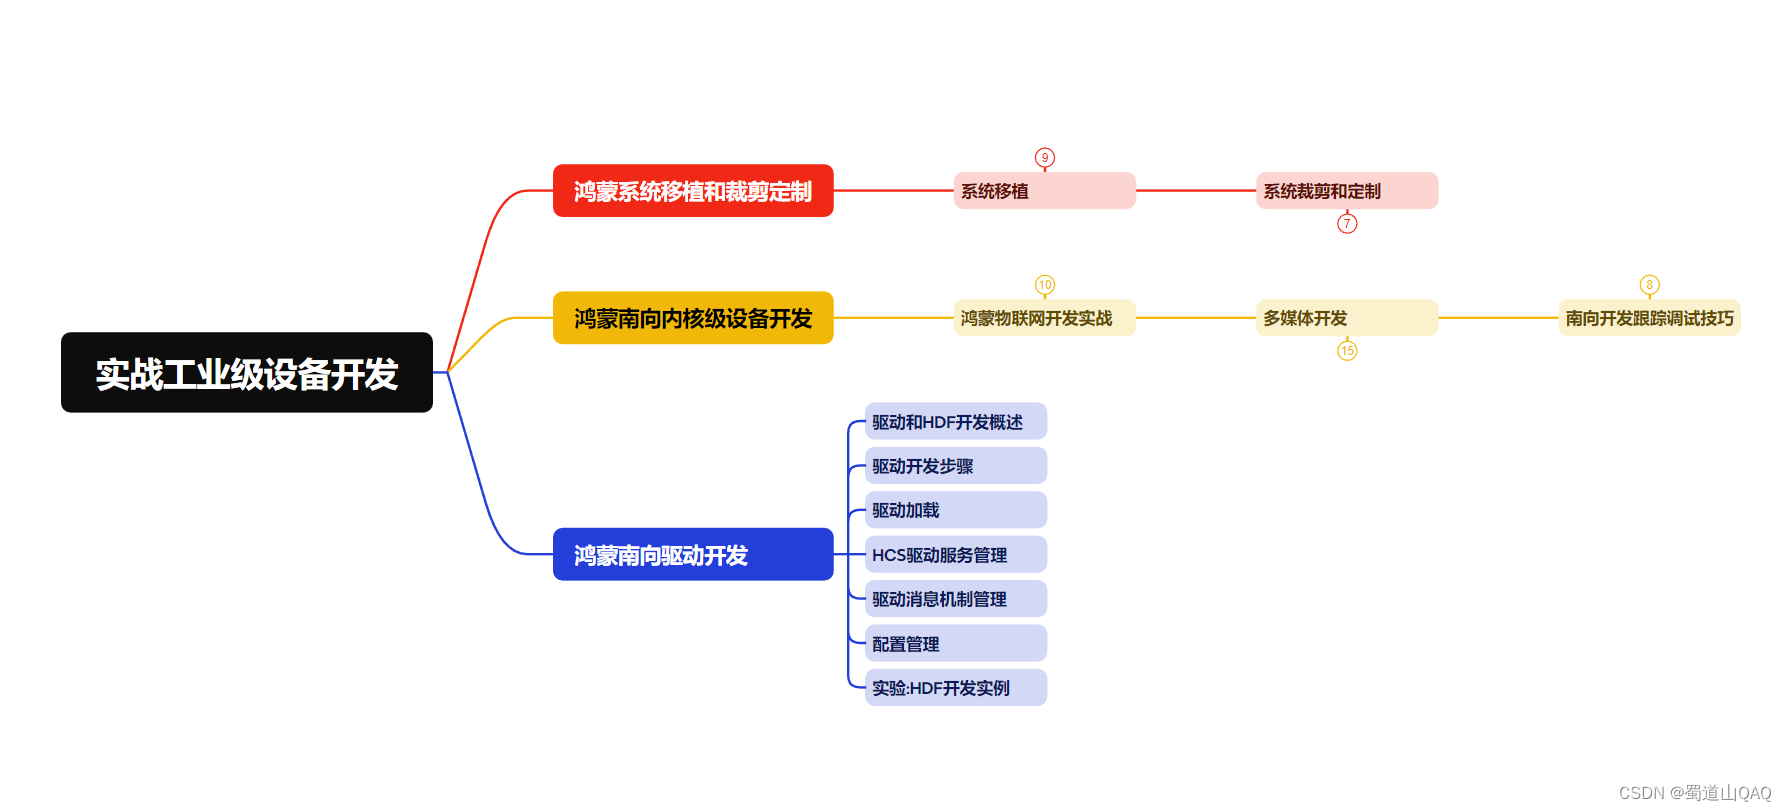
- 实战就业级设备开发
有了路线图,怎么能没有学习资料呢,小编也准备了一份联合鸿蒙官方发布笔记整理收纳的一套系统性的鸿蒙(OpenHarmony )学习手册(共计1236页)与鸿蒙(OpenHarmony )开发入门教学视频,内容包含:ArkTS、ArkUI、Web开发、应用模型、资源分类…等知识点。
获取以上完整版高清学习路线,请点击→纯血版全套鸿蒙HarmonyOS学习资料
《鸿蒙 (OpenHarmony)开发入门教学视频》
《鸿蒙生态应用开发V2.0白皮书》

《鸿蒙 (OpenHarmony)开发基础到实战手册》
OpenHarmony北向、南向开发环境搭建
《鸿蒙开发基础》
- ArkTS语言
- 安装DevEco Studio
- 运用你的第一个ArkTS应用
- ArkUI声明式UI开发
- .……
《鸿蒙开发进阶》
- Stage模型入门
- 网络管理
- 数据管理
- 电话服务
- 分布式应用开发
- 通知与窗口管理
- 多媒体技术
- 安全技能
- 任务管理
- WebGL
- 国际化开发
- 应用测试
- DFX面向未来设计
- 鸿蒙系统移植和裁剪定制
- ……
《鸿蒙进阶实战》
- ArkTS实践
- UIAbility应用
- 网络案例
- ……
获取以上完整鸿蒙HarmonyOS学习资料,请点击→纯血版全套鸿蒙HarmonyOS学习资料
总结
总的来说,华为鸿蒙不再兼容安卓,对中年程序员来说是一个挑战,也是一个机会。只有积极应对变化,不断学习和提升自己,他们才能在这个变革的时代中立于不败之地。

- 初识HarmonOS内核
- HarmonOS高级技能
- 鸿蒙NaPi组件进阶
- HarmonOS就业必备技能

")


