KylinV10 安装 MySQL 教程(可防踩雷)
KylinV10 安装 MySQL 教程(可防踩雷)
1、直接用 apt 快捷安装 MySQL
$ sudo apt-get update #更新软件源
$ sudo apt-get install mysql-server #安装mysql
然后你会发现,KylinV10 安装畅通无阻,并没有设置密码的场景,于是你一登陆,发现有密码(?哪来的密码)
kylin@kylinV10:~/桌面$ mysql -u root -p
Enter password:
ERROR 1698 (28000): Access denied for user 'root'@'localhost'
kylin@kylinV10:~/桌面$ mysql -u root -p
Enter password:
ERROR 1698 (28000): Access denied for user 'root'@'localhost'
2、KylinV10 密码正确也无法登录的情况
这里有点问题的是,银河麒麟系统有点不同,按网上一些改密码的教程,会发现,密码该成功了,输入密码正确也无法登录,输入密码半天连接不了,也不知道是当时设置密码的时候打错了,两次都打错不应该啊。

其实这里主要原因就是因为 kylinV10 的加密方式不一样,MySQL 一般是 mysql_native_password 认证方式,但是 kylinV10 的认证方式是 auth_socket。所以要先改这个,接下来教大家如何改!

3、修改认证方式步骤
具体操作如下:
1、在 mysqld.cnf 最后一行里添加 skip-grant-tables
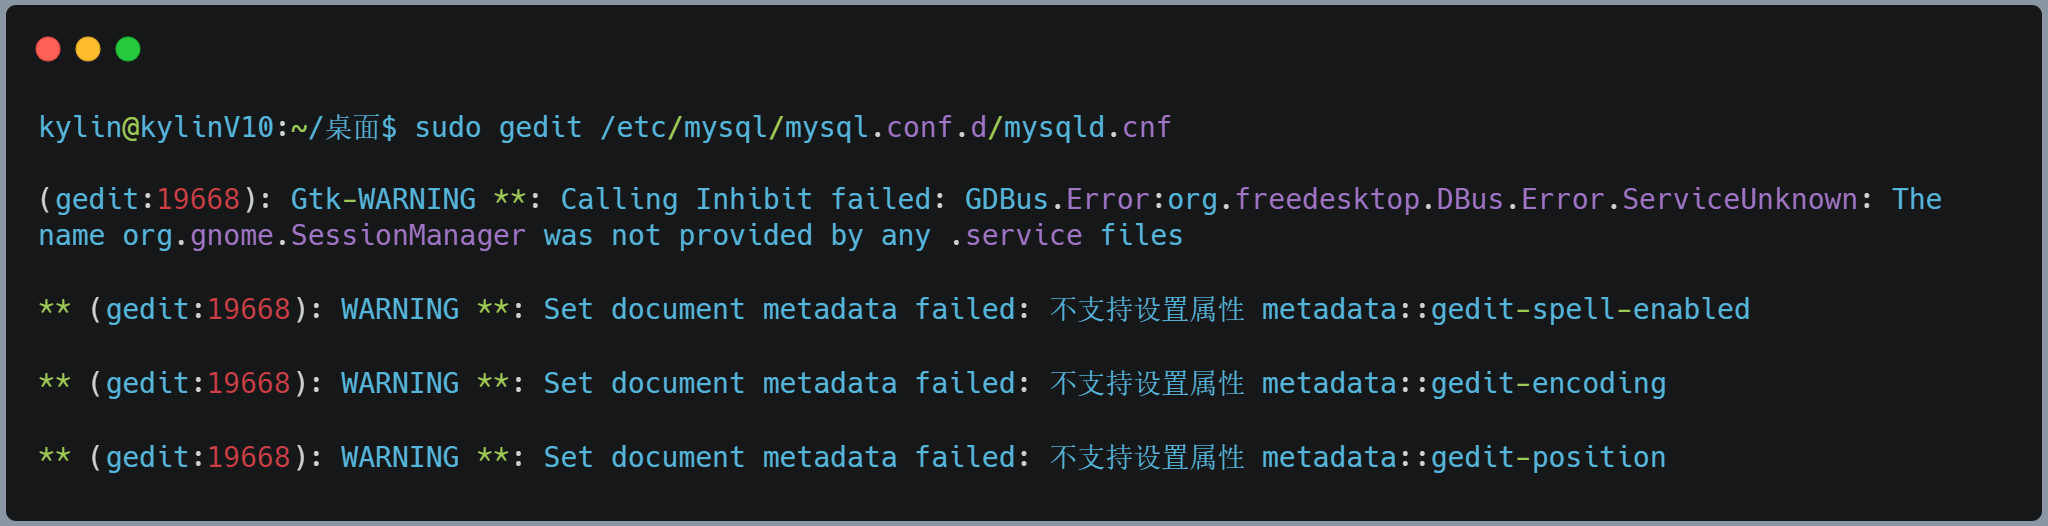
# 使用 gedit 或者 vim 命令都可以(二选一即可)
sudo gedit /etc/mysql/mysql.conf.d/mysqld.cnf
# 使用 vim 命令
sudo vim /etc/mysql/mysql.conf.d/mysqld.cnf
直接在最后一行添加
skip-grant-tables
# 如下图

保存后,退出,不用去管报什么错误警告,比如下图这样的
2、重启 MySQL
sudo service mysql restart
3、连接 MySQL
# 只需要输入mysql就行,其他不用
mysql
4、切换到 mysql 数据库
use mysql;
5、查看一下加密方式
select user, plugin from user;

如果是如图 auth_socket 需要将其修改为 mysql_native_password 这就是为什么我改了几次密码,都还是无法连接成功的原因:身份验证的插件是错的。
6、修改加密认证方式
update user set plugin='mysql_native_password' where user='root';
flush privileges;
要灵活变通,如果不是KylinV10系统是其它系统(比如kylinV10-SP1)它的认证方式可能不一样,不是 mysql_native_password,如下图,要记得变通,换成和你查询到的认证一样,比如这里是 caching_sha2_password,所以update语句要改一下

7、修改密码
ALTER user 'root'@'localhost' IDENTIFIED BY '123456'; //123456是新密码,改成你自己的
# 注意 MySQL8.0是不支持 password() 函数的,所以以下命令是无效的
# 如果你安装的是MySQL5.x可以执行下面命令
update user set authentication_string=password("123456"),plugin='mysql_native_password' where user='root';
改密码的update语句也要和上一点一样,记得改plugin等号右边的东西
update user set authentication_string=password("123456"),plugin='caching_sha2_password' where user='root';

8、退出
exit;
9、去掉 skip-grant-tables 重启 MySQL 服务
sudo gedit /etc/mysql/mysql.conf.d/mysqld.cnf
# 可以选择删除或者注释掉,注释的话在前面加个 # 就行了
10、重启 MySQL 服务
sudo service mysql restart
11、完整的过程图

4、还不行?还有招
1、初始化配置,设置密码
sudo mysql_secure_installation
然后下面步骤有点多,注意认真看
# 1
Securing the MySQL server deployment.
Connecting to MySQL using a blank password.
VALIDATE PASSWORD PLUGIN can be used to test passwords
and improve security. It checks the strength of password
and allows the users to set only those passwords which are
secure enough. Would you like to setup VALIDATE PASSWORD plugin?
# 这里我选择了 No
Press y|Y for Yes, any other key for No: No
# 2
Please set the password for root here...
New password: (输入密码)
Re-enter new password: (重复输入)
# 3
By default, a MySQL installation has an anonymous user,
allowing anyone to log into MySQL without having to have
a user account created for them. This is intended only for
testing, and to make the installation go a bit smoother.
You should remove them before moving into a production
environment.
# 我选择了 No
Remove anonymous users? (Press y|Y for Yes, any other key for No) : No
# 4
Normally, root should only be allowed to connect from
'localhost'. This ensures that someone cannot guess at
the root password from the network...
# 我选择了 Yes
Disallow root login remotely? (Press y|Y for Yes, any other key for No) : Yes
#5
By default, MySQL comes with a database named 'test' that
anyone can access...
# 我选择了 No
Remove test database and access to it? (Press y|Y for Yes, any other key for No) : No
#6
Reloading the privilege tables will ensure that all changes
made so far will take effect immediately.
# 我选择了 Yes
Reload privilege tables now? (Press y|Y for Yes, any other key for No) : Yes
2、检查MySQL状态
systemctl status mysql.service
3、在终端连接
mysql -u root -p;
# 输入密码
5、sqoop 导入 MySQL 中文乱码问题
(可以插入中文,但不能用sqoop导入中文)导致导入时中文乱码的原因是character_set_server默认设置是latin1
可以单个设置修改编码方式set character_set_server=utf8;但是重启会失效,建议按以下方式修改编码方式。
(1)编辑配置文件。
sudo vim /etc/mysql/mysql.conf.d/mysqld.cnf
# 或者
sudo gedit /etc/mysql/mysql.conf.d/mysqld.cnf
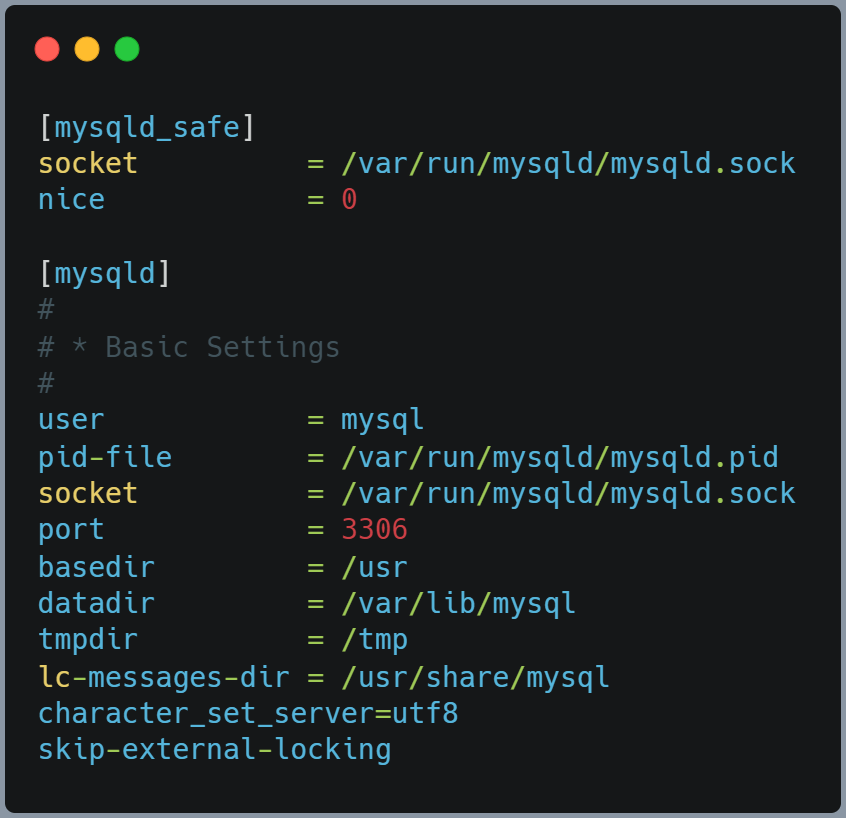
(2)在[mysqld]下添加一行
character_set_server=utf8
(3)重启MySQL服务。
service mysql restart
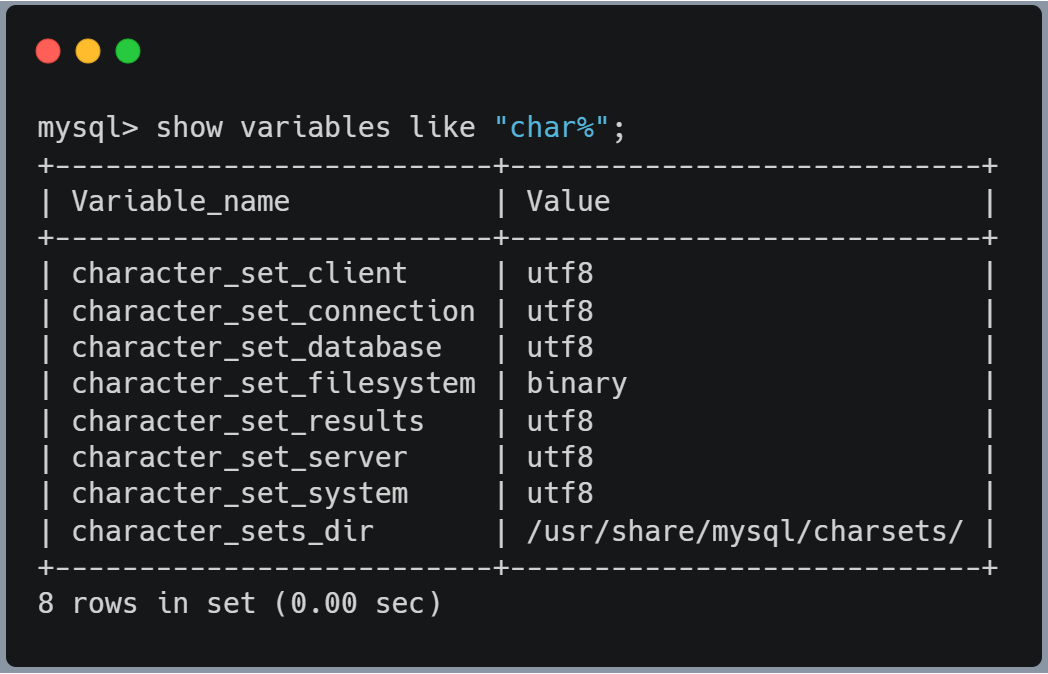
(4)查看character_set_server设置
show variables like "char%";
# 如下图,可以看到 character_set_server 已经变成了 utf8 了
64529576.webp" alt=“1703064529576” style=“zoom: 50%;” />
(3)重启MySQL服务。
service mysql restart
(4)查看character_set_server设置
show variables like "char%";
# 如下图,可以看到 character_set_server 已经变成了 utf8 了