
flutter 自定义TabBar 【top 0 级别】


.png)


flutter 自定义TabBar 【top 0 级别】
- 前言
- 一、基础widget
- 二、tab 标签
- 三、barView
- 总结
前言
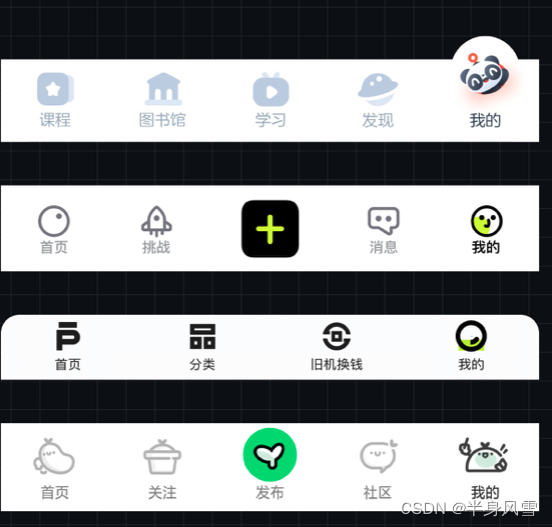
在日常开发中,tab 标签选项,是一个我们特别常用的一个组件了,往往我们在一个项目中,有很多地方会使用到它,每次单独去写,真的是太繁琐,这里我会定义一个通用的tab 选择器,喜欢的朋友可以拿去试试
一、基础widget
直接先上代码
class YSTabbarWidget extends StatefulWidget {
  /// tabList
  final List tabs;
  /// 是否可滑动  (居左)
  final bool? isScrollable;
  /// 高亮文字大小
  final double? textSize;
  /// 非高亮文字大小
  final double? unTextSize;
  /// 小线颜色
  final Color? tabColors;
  /// 文字高亮颜色
  final Color? labelColor;
  /// 非高亮文字颜色
  final Color? unselectedLabelColor;
  /// controller 必传
  final TabController? controller;
  /// tab间距
  final double? horizontal;
  /// 下划线颜色,根据文字大小  根据tab大小
  final double lineBottom;
  final TabBarIndicatorSize? indicatorSize;
  /// page List
  final List tabbarViewList;
  final Function(int)? didSelectIndex;
  /// 是否显示分割线
  final bool? showLine;
  const YSTabbarWidget(
      {Key? key,
      required this.tabs,
      required this.controller,
        this.tabbarViewList = const [],
      this.unselectedLabelColor,
      this.isScrollable,
      this.textSize = 16.0,
      this.unTextSize = 16.0,
      this.tabColors,
      this.labelColor,
      this.horizontal,
      this.lineBottom = 0,
      this.indicatorSize,
      this.didSelectIndex,
      this.showLine = true})
      : super(key: key);
  @override
  State createState() => _YSTabbarWidgetState();
}
class _YSTabbarWidgetState extends State {
  @override
  void initState() {
    // TODO: implement initState
    super.initState();
  }
  @override
  Widget build(BuildContext context) {
    return Column(
      // mainAxisAlignment: MainAxisAlignment.start,
      crossAxisAlignment: CrossAxisAlignment.start,
      mainAxisSize: MainAxisSize.min,
      children: [
        getTabbarWidget(),
        widget.showLine == true
            ? Container(
                height: 0.5,
                color: const Color(0xffe5e5e5),
              )
            : Container(),
        getTabbarViewWidget(),
      ],
    );
  }
}
通过上面的代码,我们可以看到,这里定义了很多属性,当然每个属性都有注释进行解释,这里就不赘述了。
二、tab 标签
上面的代码中,我们可以看到这个getTabbarWidget() 自定义的组件,它就是我们需要自定义的一个tab 按钮部分了
Widget getTabbarWidget() {
  return TabBar(
      isScrollable: widget.isScrollable ?? false,
      controller: widget.controller,
      indicatorColor: widget.tabColors ?? Colours.app_main,
      // indicatorWeight:10,
      indicatorSize: widget.indicatorSize ?? TabBarIndicatorSize.label,
      indicatorPadding: const EdgeInsets.only(left: 0),
      indicator: UnderlineTabIndicator(
        insets: EdgeInsets.only(bottom: widget.lineBottom),
        borderRadius: const BorderRadius.all(Radius.circular(1)),
        borderSide: BorderSide(
          color: widget.tabColors ?? Colours.app_main,
          width: 2, //高度
        ),
      ),
      labelColor: widget.labelColor ?? Colours.app_main,
      unselectedLabelColor: widget.unselectedLabelColor ?? Colours.textBlack3,
      labelPadding:
          EdgeInsets.symmetric(horizontal: widget.horizontal ?? 20.w),
      labelStyle: TextStyle(
        fontSize: widget.textSize,
        fontWeight: FontWeight.w600,
      ),
      unselectedLabelStyle: TextStyle(fontSize: widget.unTextSize),
      onTap: (value) {
        if (widget.didSelectIndex != null) {
          widget.didSelectIndex!(value);
        }
      },
      tabs: widget.tabs.map((String tab) {
        return Tab(
          text: tab,
        );
      }).toList());
}
结合篇头的代码及注释,我们可以简单的理解上面的每一行代码。这里需要说明的是,如果你想自定义tab 的样式或者是其他的一些功能需求,都可以直接在上面的代码中进行修改调整。
有人可能会有疑问,代码的中的showLine到底判断的是啥?
widget.showLine == true
    ? Container(
        height: 0.5,
        color: const Color(0xffe5e5e5),
      )
    : Container(),
其实它就是一个分界线,可以根据自己的需求进行调整样式,也可以根据showLine 参数,进行判断是否需要添加分界线。
三、barView
既然我们封装的使用通用的tabbar,那么barview 肯定是必不可少的,接来下我们看看getTabbarViewWidget() 这个自定义的组件。
Widget getTabbarViewWidget() {
  if(widget.tabbarViewList.isNotEmpty){
    return Expanded(
      child: TabBarView(
        controller: widget.controller,
        children: widget.tabbarViewList,
      ),
    );
  }else{
    return Container();
  }
}
getTabbarViewWidget 的代码就比较少了,简单的来说,就是穿一个个上下文controller, 再传入你的widget 就可以了。
看到这里,你学废了没?
总结
简简单单一个widget,复制粘贴直接用,废话不多说,啥?没有写怎么调用?不知道怎么调用,你还是去看看前面的文章吧。
文章版权声明:除非注明,否则均为主机测评原创文章,转载或复制请以超链接形式并注明出处。


")


